Remove Background Noise in Canva Video: Enhance Voice, Export, and Review
Use Canva Enhance Voice carefully, check plan availability, export an MP4, verify speech and sync, and choose a saved-video fallback when needed.
Quick answer
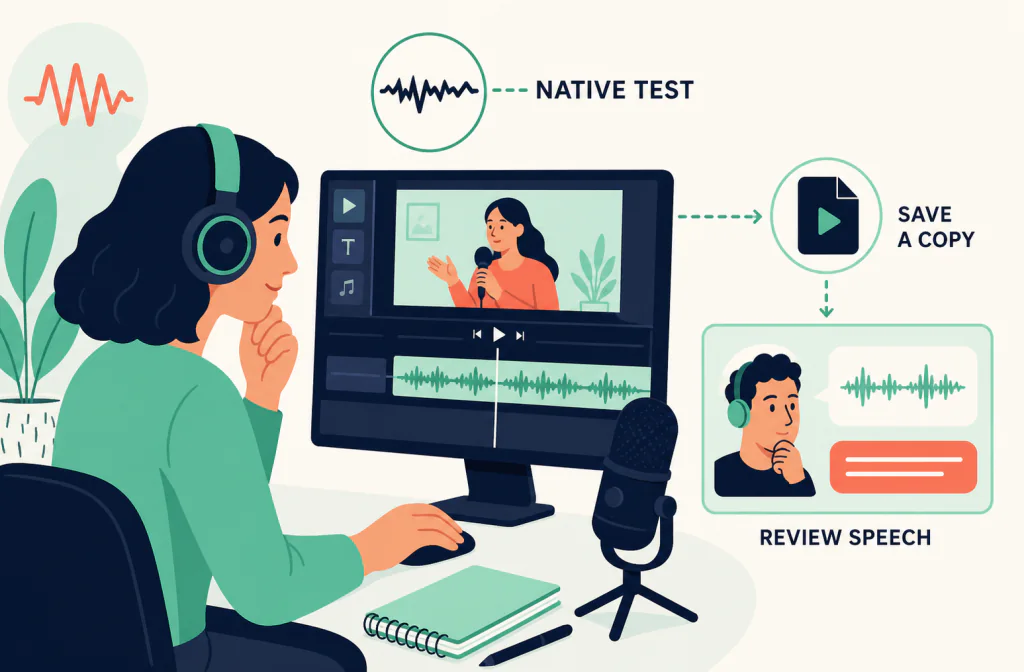
In Canva, add a video or audio file that contains speech, select it, open Audio Tools, and turn on Enhance Voice. Canva's current help page documents this path on desktop and mobile, with an optional strength slider. The feature is currently listed for Canva Pro, Canva Business, and Canva Enterprise, and each use counts against the plan's monthly AI allowance. Compare the same spoken sentence before and after the change, then download a short MP4 and check it outside the editor.
If the native result still needs review, Noise Cleaner's video noise remover can evaluate a compatible saved video copy. It is a separate post-recording upload workflow—not a Canva integration, live microphone filter, or guarantee that clipped or covered words can be recovered.
Confirm access before building the workflow
Canva is updated as an online service, so a fixed desktop version number does not fully identify the interface. Record the date, device, browser or app version, account plan, and region before following a screenshot or tutorial. A teammate using another plan or platform may see different availability.
Canva's current Enhance Voice help page says the feature works only with video or audio that contains voice. It also lists access for Canva Pro, Canva Business, and Canva Enterprise and says AI usage limits vary by plan. Check the account actually used for the project rather than assuming access from another user's screen.
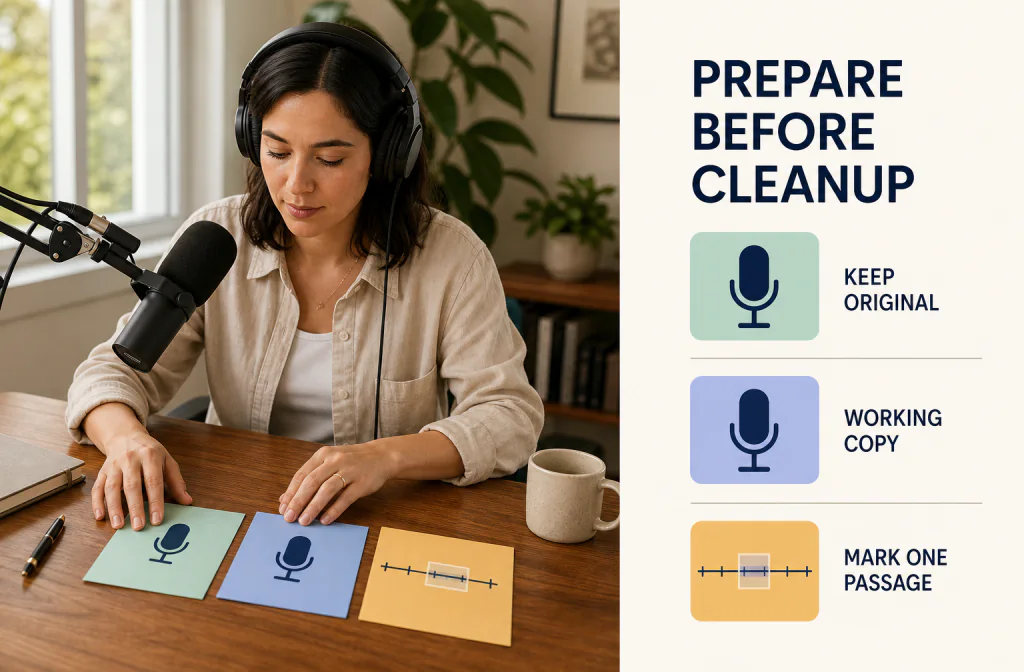
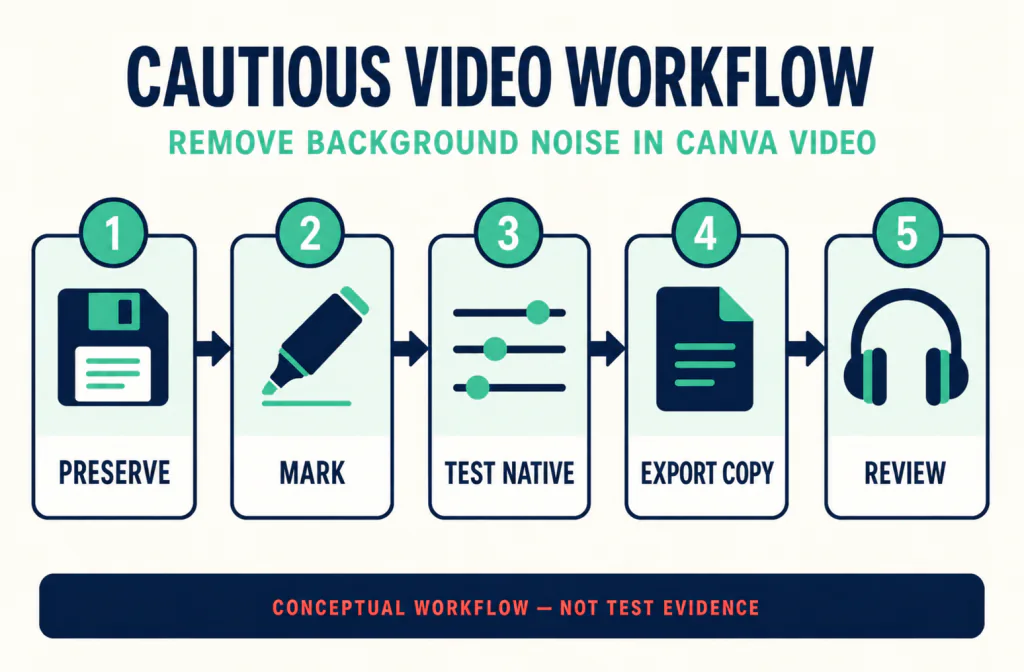
Save a duplicate design before changing the sound. Keep the original uploaded media outside the design as well. For video, mark a visible sync cue near the beginning, middle, and end—a closed-lip consonant, clap, cursor click, or hard cut can make later comparison easier. The recording-preparation checklist is a useful preflight when the original must remain recoverable.
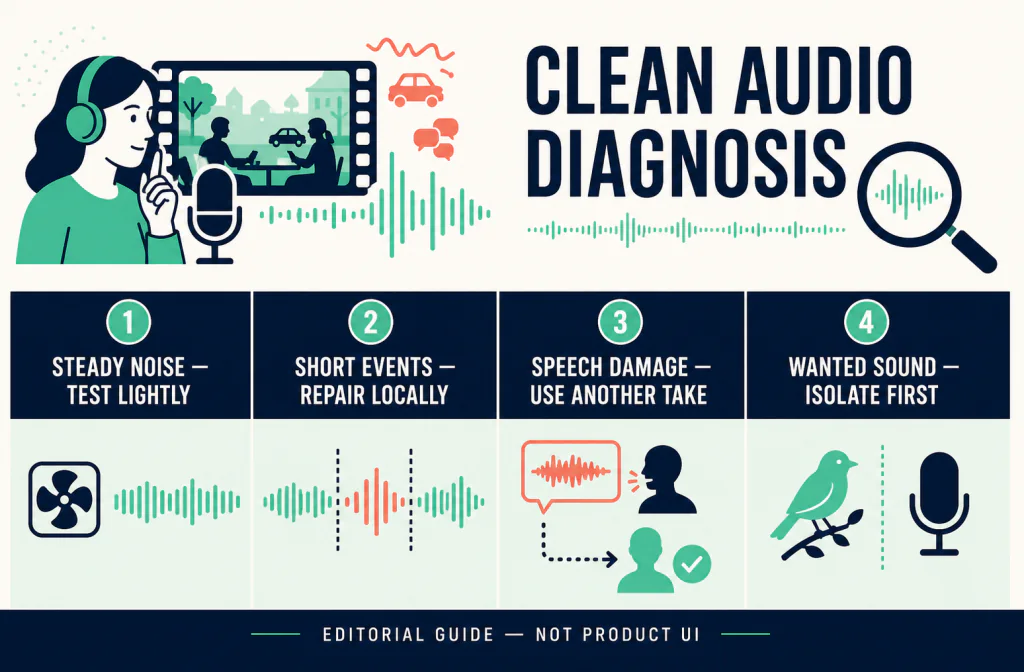
Find Enhance Voice in the current Canva editor
Canva documents closely matched desktop and mobile steps for both video and audio. Start with the media selected; the control is associated with the clip or track, not with an empty page.
Video on desktop or mobile
- Upload the video and add it to the design.
- Select the video on the canvas.
- In the quick-actions toolbar, choose Audio Tools.
- Turn on Enhance Voice.
- If a strength slider is visible, begin conservatively and compare the same passage again.
Audio on desktop or mobile
- Upload the audio file and add it to the design.
- Select the audio track on the timeline.
- Open Audio Tools from the quick-actions toolbar.
- Turn on Enhance Voice and replay the marked passage.
These paths come from Canva's current official help documentation. They establish the labels and order Canva describes; they do not prove that every account sees the feature or that a particular recording will improve. If Enhance Voice is absent, verify the selected media contains voice and confirm the plan and allowance. Do not treat a similarly named control elsewhere in the editor as the same feature.
Understand what the native control is trying to change
Canva presents Enhance Voice as an AI feature that reduces background noise and brings speech forward. That description supports testing it on a voice-containing video or audio clip. It does not establish a universal removal percentage, guarantee transparent results, or show what will happen when music, another speaker, or a loud sound overlaps the voice.
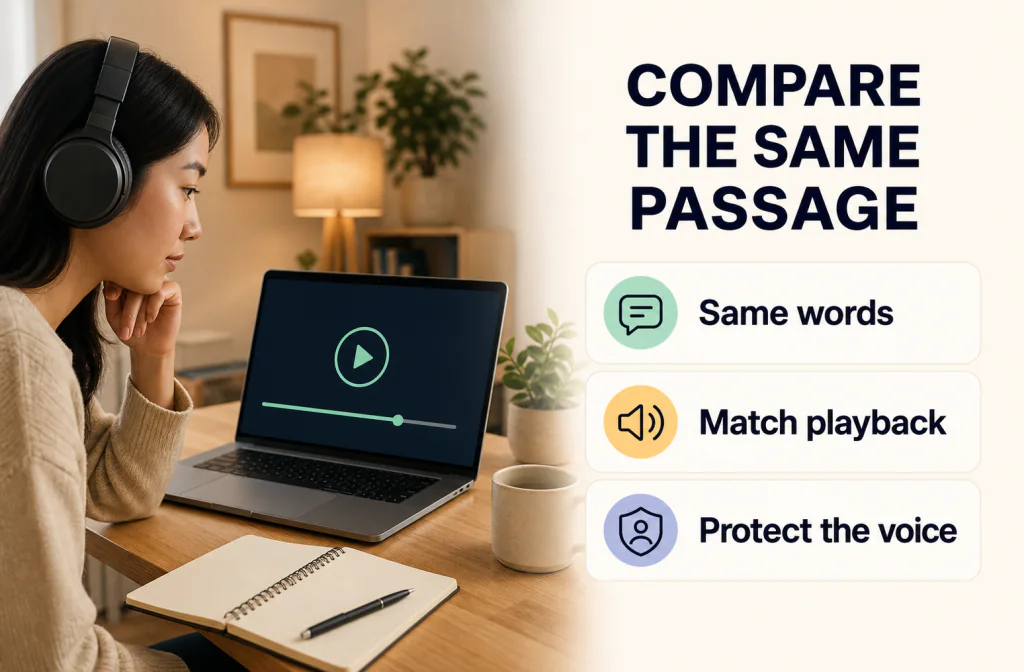
Use a passage containing ordinary speech and the actual annoyance. A silent gap can reveal room tone, but it cannot tell you whether consonants, word endings, or a quiet sentence survived. The same-passage review method helps keep the comparison fair.
Listen for both improvement and trade-offs:
- Is the named background sound less distracting under speech, not only during silence?
- Are every important word and quiet consonant still understandable?
- Does the voice sound natural rather than thin, metallic, watery, or unstable?
- Did music, ambience, or another speaker change in a way you did not intend?
- Does the background rise and fall around words?
If unwanted sound appears mainly between phrases, a local edit or a level-based gate may be a better first decision than processing the whole clip. The noise reduction versus noise gate guide explains why these tools solve different problems.
Test a short passage before the complete video
Choose 15 to 30 seconds that represent the real project. Include a normal sentence, a quieter phrase, the main noise under speech, and a brief pause. Note the exact start and end so each listen uses identical words.
Keep Enhance Voice off for the first pass, then turn it on without moving the playhead. If the slider is available, change it once and replay the same passage. Do not stack several changes before listening; otherwise it becomes difficult to identify which choice damaged the voice.
Use headphones to notice subtle texture changes, then an ordinary laptop or phone speaker to check intelligibility. Match playback level as closely as practical. A louder version can seem clearer even when it has not preserved more speech.
For video, watch the picture while listening. Check at least one visible consonant or action inside the test section. A result that sounds cleaner but shifts timing is not ready for the full design.
Download an MP4 and review the rendered file
Do not judge only from Canva's timeline preview. Canva's official MP4 converter guidance documents downloading edited video as MP4. For this workflow, use a short MP4 review export and do not promise a WAV or MP3 option from the video-design path unless the current download panel actually shows it.
After the native test sounds acceptable:
- Keep the duplicate design and original media.
- Use Canva's download flow to create a short MP4 under a new filename.
- Open the file in a separate player and confirm the beginning, marked passage, and end play.
- Compare speech at the same listening level used for the editor preview.
- Check picture-to-sound alignment near the start, middle, and end.
- If the file will return to an editor, import it into a duplicate project or track first.
The MP4 audio workflow separates the container decision from the listening decision. The video/audio sync checklist covers constant offsets, progressive drift, and local edit errors. If an audio-only master exists as WAV, preserve that source before another conversion by using the WAV workflow.
Use a saved-video fallback only when it fits
If Enhance Voice leaves a distracting problem, keep Canva's native export and create a separate authorized working copy. Check the current video noise remover upload screen before sending it. Noise Cleaner accepts only compatible uploaded files under the current account and media policy; a filename extension alone does not prove acceptance.
Review any returned video separately. Confirm that the file opens, retains the intended picture, contains the expected audio, and stays in sync. Put it beside the native Canva export rather than replacing the original immediately. This makes the choice reversible: keep Canva's native version, keep the independent review file, use a local edit, or return to the untreated source.
The saved-file route cannot control Canva's timeline or alter a microphone during recording. It also cannot reconstruct words that were clipped, never captured, or fully covered by competing speech or music. If the source failure is more serious than the background sound, re-recording or replacing one phrase may be the better production choice.
Keep the video and audio decisions separate
An audio change is only one part of a video handoff. Before downloading, check whether the design includes cuts, speed changes, captions, music, or multiple audio tracks. A global voice-focused effect may alter wanted content that shares the mix.
Record three independent decisions:
- Speech: Are the words still complete and natural?
- Noise: Is the unwanted sound less distracting enough to justify the change?
- Video delivery: Does the downloaded file preserve duration, playback, and sync?
Do not pass the project because two out of three look good. A quieter file that loses a technical term is not usable. A natural voice that drifts from the picture is not usable. A correctly synchronized export may still be worse than the original if music or ambience pumps around speech.
If the timeline work itself is the difficult part, compare this workflow with the Camtasia native Noise Removal and export guide. The control names differ, but both workflows require an untouched source, a representative passage, a short export, and an independent playback check.
Troubleshoot by symptom
| What happens | Check first | Safer next move |
|---|---|---|
| Enhance Voice is missing | Selected media, voice content, plan, and AI allowance | Keep the native step out of the workflow until access is confirmed |
| Quiet words become thin or metallic | Same-passage on/off comparison | Reduce the strength if available or turn the feature off |
| Music or another speaker changes | Whether all sound shares one mixed track | Use a local or isolated-track edit when possible |
| Preview sounds good but MP4 differs | Rendered file outside Canva | Return to the duplicate design and export a shorter test |
| Sound is early or late everywhere | Import start point and timeline position | Correct the measured offset once, then recheck three points |
| Sync gets worse over time | Source and output duration | Inspect export and speed changes; do not stretch by eye |
| One click or cough remains | Whether the problem is local | Repair that event instead of processing the full recording |
Make conservative choices for common projects
Talking-head social video
A light native pass may be reasonable for a steady fan or room bed when speech remains natural. Review the phone-speaker version because that is close to how many viewers will hear it. Accept some room tone if stronger processing makes the speaker sound artificial.
Course or software tutorial
Names, numbers, commands, and interface labels must remain clear. Check quiet explanations as well as the introduction. A setting chosen for one loud section may soften detail later in the lesson. Captions can help access, but they do not excuse damaged or missing speech.
Interview or panel
Identify whether the noise belongs to one person or the entire mix. A treatment that helps the louder speaker can change a quieter guest or shared ambience. If separate tracks are available, preserve them rather than processing a mixed export first.
Outdoor clip
Wind and traffic can vary from moment to moment and may overlap words. Do not promise that a one-click control will recreate obscured speech. A backup take, selective edit, subtitle, or re-record may protect the message better.
Know when to stop
Stop increasing the effect when the voice becomes harder to understand, loses natural texture, or pulls away from the picture. Leave some residue when removing more would damage wanted sound. Return to the original when the exported file changes timing or media in a way you cannot explain.
Use local editing for a single bump, click, or cough. Use another microphone track or take when available. Re-record short and repeatable narration when important words were clipped or masked. Consider specialist restoration for valuable, irreplaceable media rather than experimenting on the only copy.
Only edit or upload files you are entitled to use. Interviews, customer recordings, meetings, and private conversations can carry consent and confidentiality obligations beyond the technical steps.
Frequently asked questions
Why can't I see Enhance Voice?
Canva currently lists the feature for Canva Pro, Canva Business, and Canva Enterprise, and says it works only with media containing voice. Check the selected clip, current plan, monthly AI allowance, device, and region before assuming the control is broken.
Is the path different for video and audio?
The selection step differs: select a video on the canvas or an audio track on the timeline. Canva's current help page then directs both workflows through Audio Tools and the Enhance Voice toggle.
Should I move the slider to maximum?
No fixed value is safe for every recording. If the optional slider is present, begin with a small change and compare the same sentence. Keep the lowest setting that solves enough of the problem without damaging speech.
Can I promise an audio-only download format?
Not from this video workflow. This guide uses Canva's documented MP4 path. Check the download panel for the actual project rather than assuming WAV or MP3 availability.
Is this live-call noise suppression?
No. Enhance Voice here is an editing feature for uploaded video or audio. Noise Cleaner's fallback is also a saved-file workflow. Neither changes a live microphone inside a call.
For a Discord voice conversation, use the Discord Krisp live-call guide and do not copy Canva's saved-video workflow into call settings.
Official sources and test notes
- Canva Help Center: Remove background noise using Enhance Voice documents supported voice-containing media, eligible plans, monthly AI-allowance behavior, desktop/mobile selection paths, Audio Tools, the toggle, and the optional strength slider.
- Canva: Audio Enhancer describes Canva's intended voice-enhancement and video-editing use cases.
- Canva: MP4 Converter documents downloading edited video as MP4.
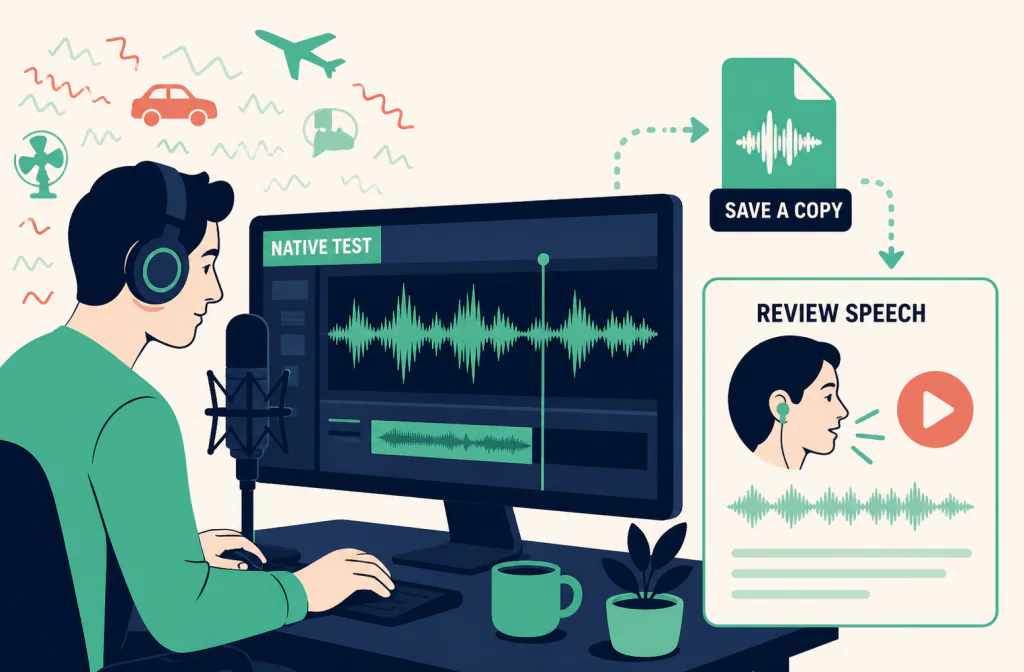
These official pages were rechecked on September 10, 2026. They support the current labels, path, plan boundary, and MP4 export context described here. They do not prove a result for a particular account or recording. No account-specific Canva screenshot, rights-cleared same-passage test, or export/reimport test is presented. The three illustrations are conceptual editorial media, not Canva screens, measured waveforms, or Before-and-After evidence.
Final decision
Use Canva's native Enhance Voice first when the current account provides it. Compare the same words, begin conservatively, and download a short MP4 before changing a complete project. If a compatible saved video still needs a separate review, test Noise Cleaner on a working copy and keep it only after speech, playback, duration, and sync all pass. Otherwise preserve the original, use a local repair, or re-record.