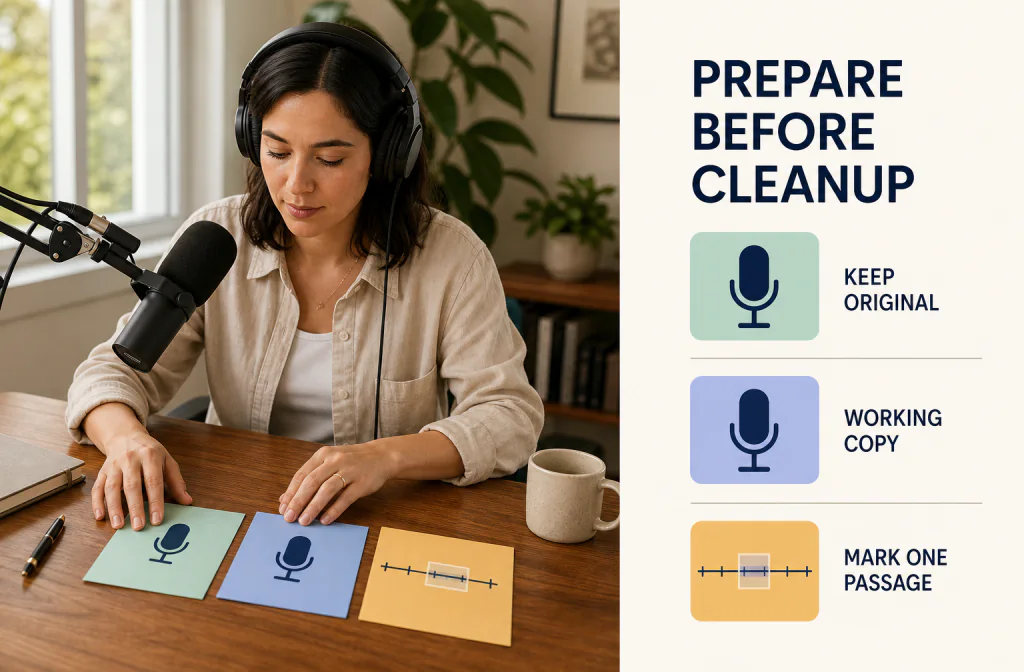
How to Clean WAV Audio Without Unnecessary Conversion
Clean WAV audio from a preserved working copy, compare the same speech passage, verify the output, and avoid conversions that add uncertainty.

To clean WAV audio without unnecessary conversion, keep the original WAV untouched, record its sample rate, bit depth, channel layout, and duration, then test a copy in the current cleanup workflow. Compare the same spoken passage before and after processing and inspect the downloaded output before continuing your edit. WAV is a container for uncompressed or compressed audio data, not a promise that the recording is clean or undamaged. Noise reduction may make steady noise less distracting, but it cannot recreate clipped or masked speech.
The practical goal is not to make the waveform look quiet. It is to reduce a specific distraction while keeping the voice, timing, channel layout, and downstream edit usable. That requires one controlled working copy, one representative passage, and a clear keep-or-return decision.
Start with the best available source
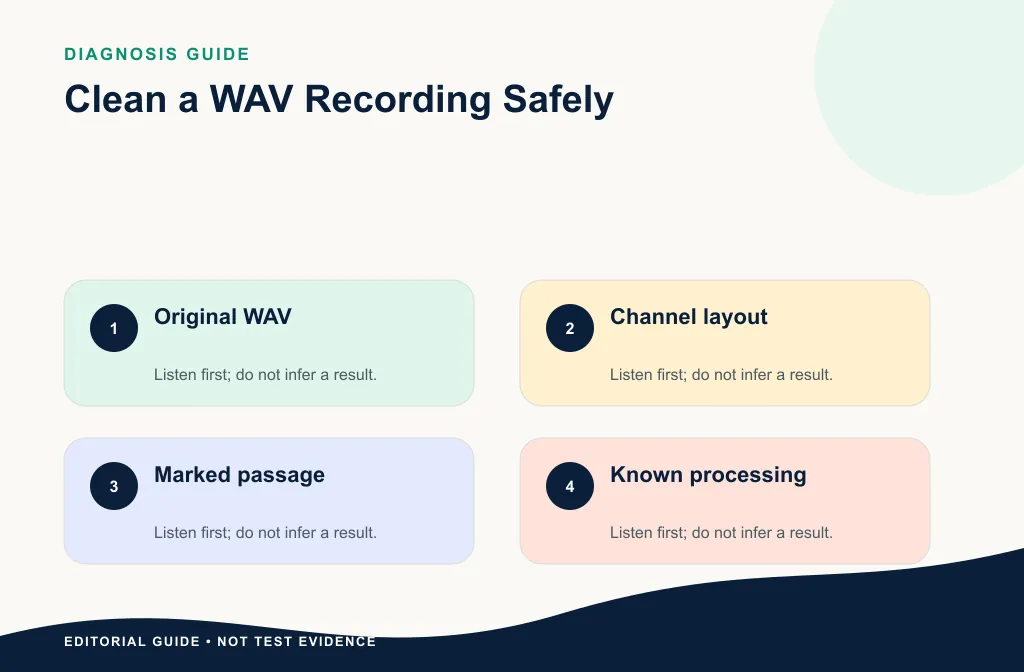
If the WAV came directly from a recorder or editor, it may be the best source you have. If it was created by converting an MP3, the WAV wrapper does not restore information removed by the earlier compression. Keep a short provenance note: where the file came from, whether it has already been processed, and whether a project or recorder original still exists.
Use the MP3 cleanup guide when the best source is MP3. If the source is a mobile or meeting file, check the M4A workflow rather than converting by habit.
Record the file details that matter
Before upload, note:
- duration;
- mono, stereo, or another channel layout;
- sample rate and bit depth when visible;
- the app or device that produced it;
- the marked problem passage;
- the noise type and whether it overlaps speech.
These details help you verify the output and avoid an unnoticed change. They do not prove quality by themselves. A high sample rate cannot repair poor microphone placement, clipping, or a voice buried under noise.
Inspect the source before you process it
Play the beginning, the noisiest section, and the end before uploading anything. Confirm that the file opens normally and that the left and right channels contain what you expect. If one channel is empty, phasey, or much noisier, solve that routing problem before applying whole-file cleanup. If the file already sounds metallic or gated, look for an earlier export instead of processing the damage again.
Microsoft's RIFF documentation describes a WAV file as a RIFF structure containing format and data chunks. The extension tells you how the media is packaged, but the actual encoding and channel information still need inspection. Do not promise a particular bit depth, codec, or channel layout merely because the filename ends in WAV.
Define a listening test
Choose a passage that represents the real problem: a pause, quiet words, louder words, and noise under speech. Write down the exact time window and transcript. Compare at a similar playback level. Use the recording preparation checklist to preserve a repeatable setup before processing.
Use a second clean passage from the same session as a voice reference. The problem passage tells you whether the noise became less distracting; the clean passage tells you whether the process changed the speaker unnecessarily. Review short A/B switches first, then complete sentences so you catch pumping, missing breaths, clipped consonants, or room tone that vanishes between words.
Ask five ordinary questions: Can you understand quiet endings? Is noise under speech less distracting? Does the speaker still sound like the same person? Did ambience, music, or another channel change? Would you choose this result over the source at a matched level?
Clean a WAV working copy
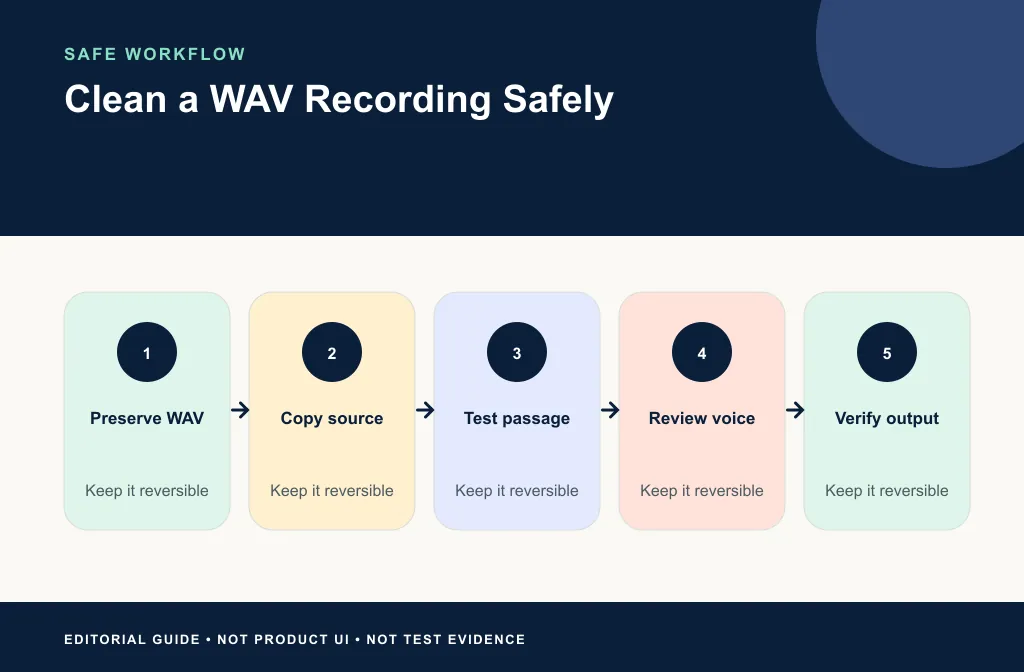
- Duplicate the original WAV.
- Name the copy so it cannot be confused with the source.
- Verify that the current Noise Cleaner build accepts the exact file.
- Process the copy using only real controls visible in the product.
- Preview the marked passage and compare the same words.
- Download the result.
- Confirm the actual output format, duration, channels, and playback.
- Keep the original and the reviewed output until publishing is complete.
Review the whole output, not just the preview
A short preview is a decision aid, not final-file proof. After download, play the actual file in a second application. Check the marked passage, a quiet section, and a loud section elsewhere. For a long recording, sample the beginning, middle, and end. This catches truncated exports, unexpected silence, changed channels, and artifacts that were not present in the test window.
Do you need to convert the output?
Convert only when the next system requires another format. A podcast host may need a particular delivery file; an editor may work best with WAV; a collaborator may request MP3. Make the conversion once, from the best reviewed source, at the handoff point.
When the WAV is rendered from a music or narration project, the Ableton Live export and Gate guide explains how to choose the rendered signal, preserve timing, and reimport only after review.
If you are preparing an interview, continue with the podcast publishing workflow. It separates cleanup from final delivery decisions.
Conversion is a delivery decision, not a cleanup method. Keep the reviewed working master in the least-altered useful format, then create an upload or sharing copy only when the destination specifies one. If an editor, host, or client gives you an export specification, follow it once and record what changed.
What to check after download
- The file opens and plays from beginning to end.
- The duration matches the expected source window.
- Both channels are present when stereo is required.
- Speech remains complete and natural.
- Residual noise is documented rather than hidden.
- No new click appears at the start or end.
For a formal comparison, follow the Before-and-After review guide.
Also compare duration and the exact start point when the WAV will replace a track in a video or multitrack session. Good-sounding audio is unusable when it begins late, ends early, or no longer lines up. Apply the three-point sync check before removing the original track.
When an editor is safer
Use an editor when you need local click repair, fades, trimming, channel routing, or exact export control. Audacity’s export documentation lets users choose format, channels, sample rate, and encoding. Its noise-reduction manual also warns that aggressive reduction can damage wanted sound. The Audacity tutorial explains that alternative path.
An editor is safer when sections need different treatment. A quiet introduction, loud interview, and music bed should not automatically receive one identical pass. Repair isolated clicks locally, automate level changes deliberately, and preserve room tone around edits. If the voice becomes watery or metallic, return to the untouched copy rather than adding another enhancer.
Limitations and failure cases
- Noise reduction cannot reconstruct a syllable covered by clipping or a louder sound.
- A WAV converted from a lossy source remains limited by that source.
- Strong reduction may alter consonants, ambience, or music along with noise.
- Channel, sample-rate, and encoding choices can change during export.
- A cleaner pause does not prove that speech under noise improved.
- An output that plays in one app may still fail a delivery requirement.
If you need exact restoration, spectral repair, or source separation, use a suitable editor or specialist workflow. If another take exists, replacement is usually safer than aggressive processing.
Choose the workflow by situation
For a voice memo exported as WAV, protect the original mobile file and confirm that export did not already change it. For a podcast, keep speakers separate as long as possible. For narration, review quiet consonants and breaths. For a music-backed video, check that cleanup does not modulate the music bed. The extension is the same, but the keep-or-return criteria are not.
Frequently asked questions
Is WAV always better than MP3 for cleanup?
Not automatically. The best source is the least altered, best-captured file available. A WAV created from a poor MP3 does not restore missing information.
Should I change the sample rate before cleanup?
Only when a verified input or downstream requirement makes it necessary. Unneeded conversion adds complexity without repairing the recording.
Can cleanup remove clipping?
No. Noise reduction and clipping repair are different problems, and severely clipped speech may require manual work or re-recording.
Should I convert a stereo WAV to mono first?
Not by default. Inspect what each channel contains and preserve the layout your next step needs. Convert only when the source and delivery plan make the change intentional.
How many cleanup passes should I run?
Start with one controlled pass. If the result is still distracting, compare a lighter second attempt or a targeted repair from the original. Repeated processing can hide which stage damaged the voice.
Related guides
- Clean an MP3 recording and check the result
- Clean an M4A voice recording before editing
- Prepare a file and listening setup
- Clean a podcast interview before publishing
- Remove noise in Audacity
Sources and test notes
- Audacity Export Audio documents WAV-related export choices and file verification context.
- Audacity Noise Reduction documents fit and artifact boundaries for constant-noise reduction.
- Microsoft RIFF documentation explains the chunked structure commonly used by WAV files.
These sources explain file structure, export controls, and conservative noise-reduction behavior. They do not establish a sample-specific Noise Cleaner result.
Make the final keep-or-return decision
Keep the cleaned WAV only when the marked speech is easier to follow, the voice remains natural, the full file plays correctly, and its technical details still fit the next step. Otherwise return to the original and choose a lighter pass, local repair, another source, or re-recording. When a controlled saved-file test is appropriate, use Noise Cleaner on a copy and let the reviewed output decide.