Remove Background Noise in Audacity: Native Reduction and a Safer Export Workflow
Remove background noise in Audacity with a representative Noise Profile, conservative preview, residue check, verified export, and safer fallback.

In Audacity, select a representative noise-only region, open Effect → Noise Reduction, capture the Noise Profile, select the audio you want to treat, and preview conservative settings before applying them. Audacity’s official manual says this approach fits constant noise such as hiss or fan noise better than isolated clicks or irregular background sound, and stronger settings can damage wanted audio. Preserve the original project and export a test. If native reduction is not acceptable, compare a separate saved-file workflow through Noise Cleaner without claiming that it replaces Audacity’s editing and export controls.
Use the native answer first and test it on a duplicate. The goal is not silence: it is a less distracting constant noise with complete, natural speech. Residue listening, bypass comparison, and an exported-file check are the safeguards that keep a quiet waveform from becoming a damaged voice.
Record the tested Audacity context
Write down Audacity version, operating system, source format, project sample rate, and the passage you will review. Save a duplicate project or track. Capture original screenshots of the imported waveform, noise-only selection, Noise Reduction dialog, preview or residue check, and export settings.
For hiss-specific diagnosis, use how to identify and reduce hiss. If processing already created artifacts, use the metallic-voice recovery guide.
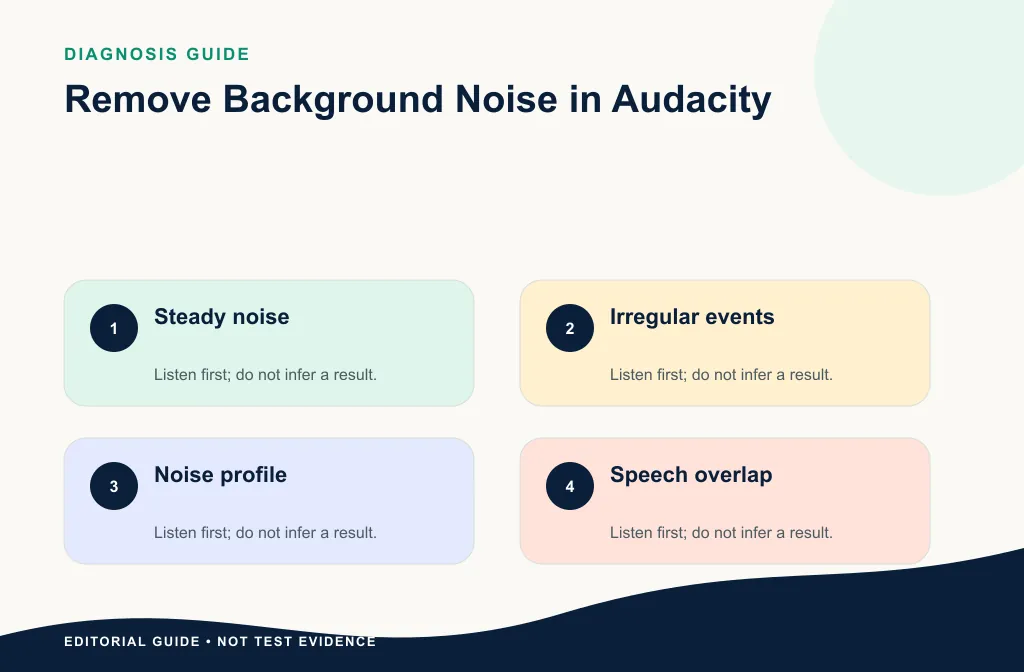
Before taking a profile, listen to the actual problem under speech. Audacity's manual distinguishes constant noise from isolated clicks and irregular noise. If the source contains hum, whistles, clipping, or a few events, diagnose those separately instead of forcing Noise Reduction to solve them.
Capture a representative Noise Profile
Select a region that contains the noise but no wanted speech. Audacity explains that the profile should represent the noise you intend to reduce. A duplicated tiny sample does not improve the statistics, and changing noise may need a different approach.
Choose a region from the same recording condition as the speech you will treat. A pause before a fan starts or after a room changes is not representative. Solo and play the selection so breaths, distant speech, music, and handling sound are not accidentally included as “noise.”
If noise changes across the file, divide the work into sections or choose another method. One global profile from an easy section can create artifacts elsewhere.
Apply reduction conservatively
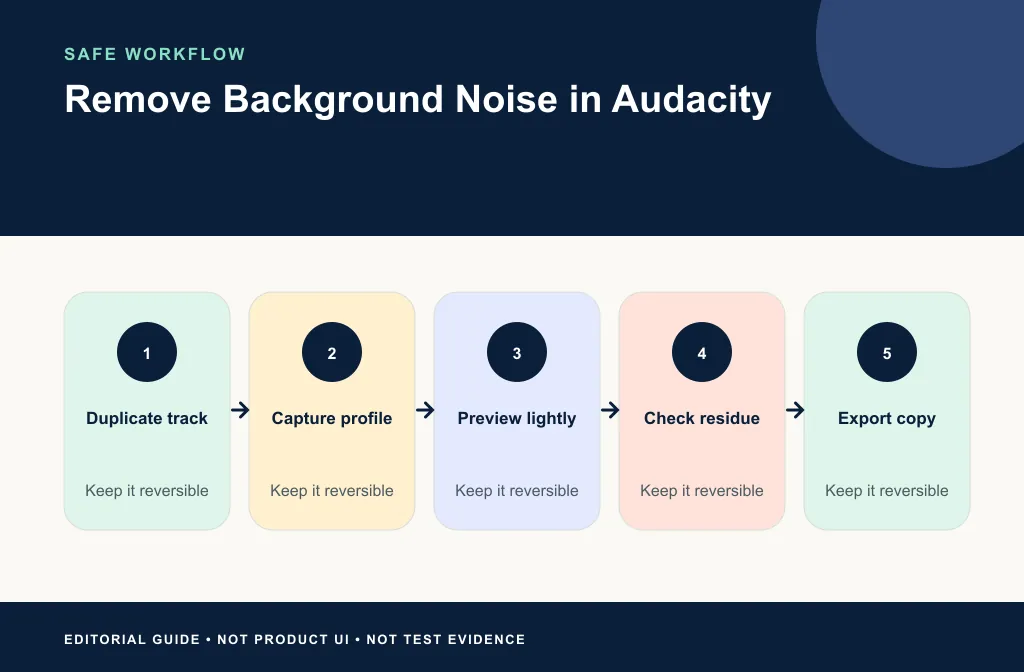
- Duplicate the track or project.
- Select the noise-only region.
- Open Effect → Noise Reduction and choose Get Noise Profile.
- Select the intended audio range.
- Reopen Noise Reduction.
- Begin with conservative settings and use Preview.
- Listen to Residue when available; recognizable speech in the residue suggests wanted audio may be removed.
- Apply only after the marked passage remains natural.
Do not publish one setting as universally correct. Audacity documents Noise Reduction, Sensitivity, and Frequency Smoothing tradeoffs; the actual source determines the decision.
Understand the three controls as tradeoffs
Noise Reduction controls how much identified noise is reduced. Sensitivity changes how much of the signal is classified as noise. Frequency Smoothing can make artifacts less objectionable but can also change wanted audio. Start conservatively and use the lowest effective combination for the actual passage.
Audacity's Residue mode lets you hear what would be removed. If recognizable words, consonants, or musical content appear in the residue, reduce the settings or choose another method. Residue is a damage check, not a creative effect.
Review more than the noise-only gap
Mark a passage containing a pause, quiet speech, normal speech, and noise under words. Compare at a similar playback level. Listen for complete “s,” “f,” and “t” sounds, natural breaths, stable room tone, and the absence of tinkling or watery artifacts.
Export and verify the native result
Use File → Export Audio in the current manual workflow. Record file name, format, sample rate, channels, encoding, and export range. Play the exported file outside Audacity and compare the same words to the original.
Check the beginning and end for accidental truncation, then sample a second passage. If the file will replace a video or multitrack source, verify duration and start point. A successful export dialog does not prove compatibility with the next editor.
The WAV cleanup guide and MP3 cleanup guide cover file-specific handoffs.
Compare a separate saved-file path
If the native result is not acceptable, return to the untouched source, export a documented test file, verify current acceptance, and upload it to Noise Cleaner. Compare original, Audacity, and AI versions at a similar playback level. Choose the result that preserves speech, not the quietest pauses.
Compare native and saved-file options fairly
Start both attempts from the same untouched source and use the same time window. Keep playback levels comparable. Record the native settings and the real saved-file path used. Choose by speech integrity, residual distraction, artifacts, and file usability—not by which output has the flattest pause.
If both whole-file attempts damage speech, switch to local repair or accept more noise. Do not stack the outputs together.
Use the AI reduction versus noise gate guide if a level-based method may fit quiet gaps better. Podcast editors can continue with the podcast interview workflow.
Effect order and local alternatives
Audacity's manual recommends doing notch filtering or click removal before Noise Reduction and compression afterward. Apply that only when the actual problems are present. Save versions or duplicate tracks so every stage can be bypassed.
Use Click Removal or local repair for isolated clicks, a measured notch method for confirmed tonal hum, and clip-level editing for one event. Noise Reduction is best suited to representative constant noise.
Limitations and failure boundaries
- A poor or unrepresentative profile can create musical artifacts.
- Strong reduction or sensitivity can remove speech with the noise.
- Variable or loud noise may not support a clean whole-file result.
- Noise Reduction is not intended for individual clicks and pops.
- An export can change format, channels, or sample rate if settings are not checked.
- No native setting is universally best.
When the original voice is quiet or distant, preserve more noise rather than sacrificing word endings. For a short critical line, re-recording may be safer than another aggressive pass.
Troubleshoot the native result
| Symptom | Safer next action |
|---|---|
| Metallic or tinkling artifacts | Reduce settings; improve the Noise Profile; return to source |
| Speech audible in Residue | Lower sensitivity or reduction and preview again |
| Clicks remain | Use local Click Removal or repair, not broad noise reduction |
| Hum or whistle remains | Diagnose a tonal problem before using a notch method |
| Noise changes over time | Use representative profiles or local sections; avoid one global assumption |
The preview is good, but the export sounds different
Open the exported file in another player, verify the selected range and encoding, and compare at the same level. Do not approve from the project alone.
The noise profile contains a breath
Choose another representative noise-only region. Including wanted human sound teaches the process to remove it.
The voice is clearer but room tone jumps between edits
Reduce the strength, process consistent sections together, or blend authorized room tone in the editor. Abrupt silence can be more distracting than low noise.
Frequently asked questions
How long should the Noise Profile be?
Use a representative noise-only region that meets Audacity’s current requirements. Longer is useful only when it represents the actual noise.
Should I normalize before or after reduction?
Audacity allows either in some workflows, but test one order and document it. Compare at a fair playback level.
Can Audacity remove clicks with Noise Reduction?
The official manual says Noise Reduction is not intended for individual clicks and pops. Use a targeted repair.
What does speech in Residue mean?
It means the current settings are removing wanted content. Lower Noise Reduction or Sensitivity, improve the profile, or choose a different repair.
Should I apply Noise Reduction to the whole file?
Only after representative passages across the file pass. If conditions change, treat sections separately.
Related guides
- Clean WAV audio
- Identify and reduce hiss
- Recover from metallic speech
- Clean a podcast interview
- Compare AI reduction and a noise gate
Official sources and test notes
These official manual pages establish the profile, controls, residue check, effect-order guidance, and export choices. They do not prove one setting or one cleanup path is best for a particular recording.
Final choice
Use Audacity's native Noise Reduction for representative constant noise, preview conservatively, listen to Residue, and verify the exported file. If native repair is not acceptable, return to the same untouched source and test Noise Cleaner as a separate saved-file option. Keep the result with the most natural complete speech, and choose local repair or re-recording when whole-file reduction is the wrong tool.