How to Identify and Reduce Hiss in a Voice Recording
Identify and reduce hiss in a voice recording by separating it from hum or static, testing speech overlap, and keeping the voice natural.

Hiss usually sounds like a steady high, airy “sshh” that remains through pauses and under speech. Before processing, compare it with low hum, intermittent static, fan wash, and microphone airflow. Preserve the original, mark a passage where hiss overlaps words, and test cleanup on a copy. Noise Cleaner may help with a saved recording, but it cannot recover speech detail already masked by noise or damaged at capture. Keep a result only when hiss is less distracting and consonants, breath, and vocal tone remain natural.
Start with listening, not a frequency guess. The safest repair depends on whether the texture is steady, whether it changes with gain or movement, and how strongly it overlaps quiet speech. A little residual hiss is often better than a dull or watery voice.
Hiss, hum, static, or fan noise?
Hiss is often broadband and steady. Hum is more tonal and may feel lower. Static can crackle or break up. Fan noise may combine a broad wash with a mechanical tone that changes when fan speed changes. Do not use an exact frequency claim unless you measured the actual sample.
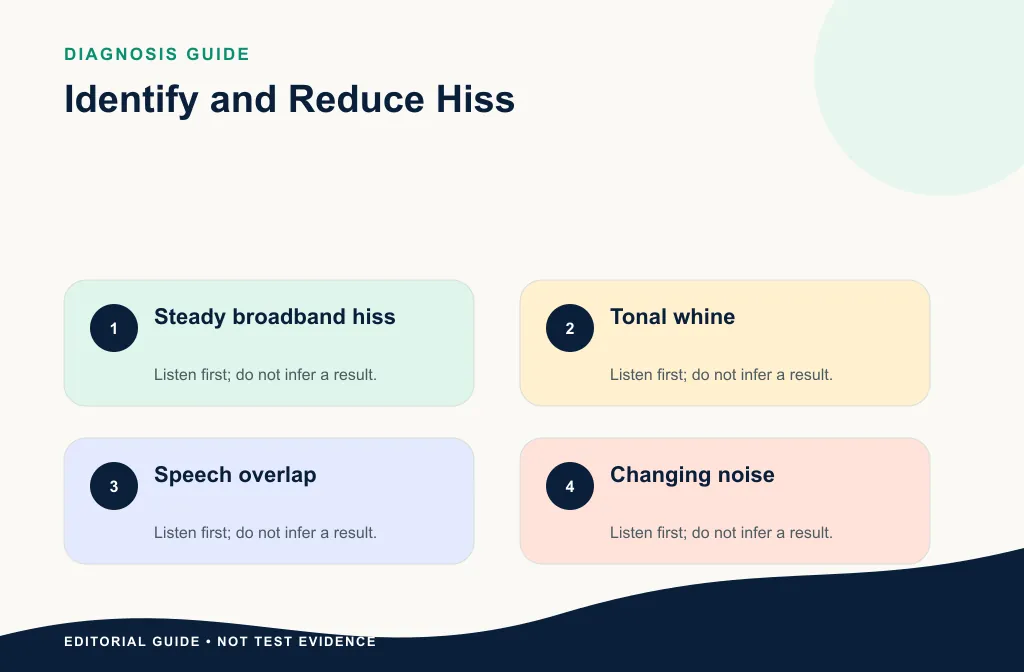
Use the hiss, hum, or static comparison when you are uncertain. If the problem is a fan, follow the fan-noise workflow.
Run a simple listening diagnosis
Play three parts: a pause, quiet speech, and louder speech. If the texture continues unchanged through the pause and words, hiss is a reasonable working diagnosis. If it forms a stable tone, hum is more likely. If it crackles when a cable moves or a speaker gets loud, investigate connection faults or clipping. If it rises and falls with a fan, treat the mechanical source.
Do not identify hiss from waveform appearance alone. Many different sounds can produce similar visual density, while the repair decision depends on what the voice and noise sound like together.
Common sources of hiss
Hiss can come from a noisy recording chain, excessive gain, a quiet speaker far from the microphone, an interface or preamp, an analog connection, or processing that raises the noise floor. Diagnose the actual setup before giving hardware advice. Do not copy a universal gain or distance setting from another microphone.
Ask when the hiss first appears. If it is present in the raw recorder file, inspect microphone distance, gain, cables, adapters, and preamp. If it appears after normalization, compression, or an export, return to the earlier source. If only one side of a stereo file is noisy, investigate channel routing before applying global cleanup.
| Observation | Likely area to inspect | First move |
|---|---|---|
| Hiss changes when gain changes | Input chain | Record a controlled voice test |
| Hiss appears after boosting a quiet file | Low source level or later gain | Return to the earlier source and compare |
| One channel is noisier | Cable, input, or routing | Solo channels and verify connections |
| Texture changes with fan speed | Mechanical source | Move, slow, or isolate the fan |
| Crackle reacts to movement | Connection fault | Replace or reseat the connection |
| Hiss exists only after cleanup | Processing artifact | Return to the untouched original |
Build a fair hiss test
Choose a passage with a pause, quiet consonants, normal speech, and hiss under the voice. Record the timestamps and transcript. Compare at a similar playback level and keep a clean reference passage if one exists.
Your review should ask:
- Is the hiss less distracting during speech?
- Are “s,” “f,” “t,” and breath details still natural?
- Did the voice become dull, metallic, or watery?
- Does the background pump around words?
- Is the residual hiss acceptable for the actual listening context?
Use the quiet-voice cleanup guide when hiss competes with a very quiet speaker.
Add a clean voice reference from the same session if possible. It helps you recognize when a repair changes the speaker's tone. Compare at a similar playback level; a quieter output can seem cleaner without actually improving the balance between voice and hiss.
Test the saved-file cleanup path
- Preserve the original and make a working copy.
- Record the source device and file details.
- Mark the representative passage.
- Upload the copy through verified Noise Cleaner behavior.
- Preview the same words and compare at a similar level.
- Download and verify the output.
- Keep the original until the final decision is complete.
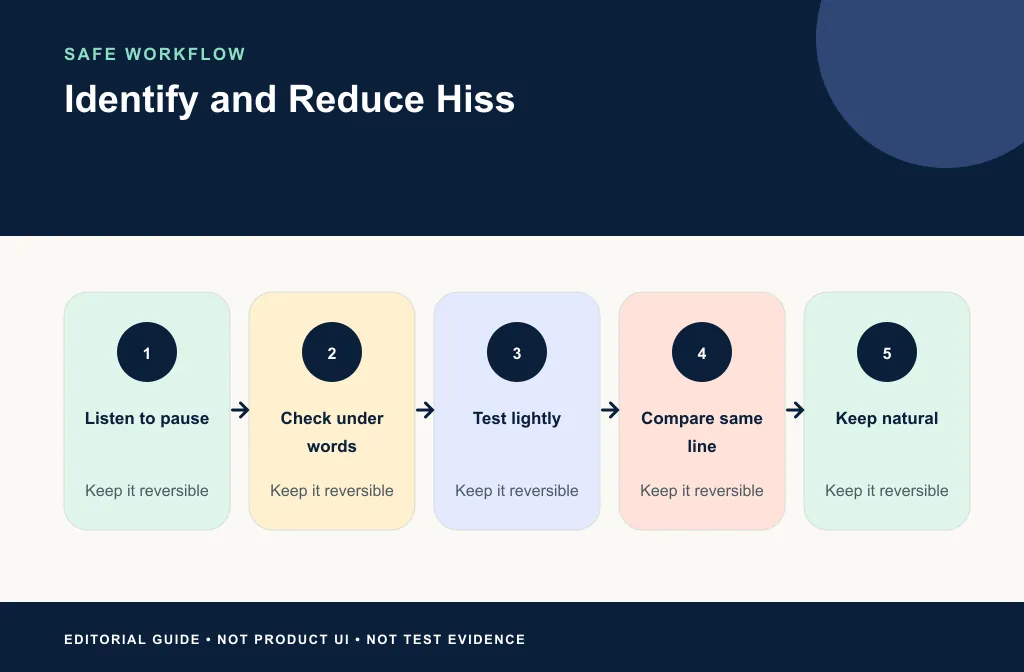
Decide whether to keep the output
Switch between the same sentence, then listen continuously for at least a few phrases. Keep the result only when hiss under speech is less distracting, “s,” “f,” and “t” remain complete, breaths sound plausible, and the background does not pulse around words. Check headphones and an ordinary speaker.
After download, play the actual file from beginning to end or sample the beginning, middle, and end for a long recording. Confirm duration, channels, and the absence of new clicks at boundaries.
When manual repair is safer
Audacity’s Noise Reduction is designed for constant noise and uses a noise-only profile. Its manual recommends conservative settings and warns that loud, variable, or speech-overlapping noise can produce distortion. Use a manual editor when you need to inspect the noise profile, audition residue, repair a local event, or control the export. The Audacity noise-reduction guide covers that route.
Audacity's Residue option is especially useful as a damage check: if recognizable speech is being removed, the settings are too aggressive. A manual workflow is also safer when only one section or channel needs treatment, or when you need to combine a modest noise pass with precise local edits.
For a podcast episode, continue with the podcast interview workflow after the hiss test.
AI cleanup, manual repair, or re-recording?
Use a saved-file cleanup test for steady hiss across a representative passage. Use manual noise reduction when you have a good noise-only profile and want direct control. Repair a few crackles or connection events locally. Re-record when a short essential line is deeply masked, clipped, or easy to repeat.
Do not stack several automatic enhancers to chase complete silence. Each stage can remove more wanted detail and make it harder to identify the cause of a metallic result.
Limitations and artifact risks
- Hiss and speech share high-frequency detail, so strong reduction can dull consonants.
- A noise-only pause does not prove performance under speech.
- Variable noise may create musical or watery artifacts.
- Boosting a quiet recording can raise hiss along with the voice.
- Cleanup cannot restore detail that the source never captured.
- Hardware or connection faults should be fixed at the source before another session.
Prevent hiss next time
- Move the microphone closer when appropriate and safe for plosives.
- Set input gain with a real voice test instead of raising a very quiet recording later.
- Monitor through headphones before the session.
- Check cables, adapters, and the actual signal chain.
- Record a short test in the final room.
- Preserve a small amount of natural room tone for editing continuity.
Shure's recording guidance recommends testing the actual room and microphone orientation before a session. Move the microphone closer to the speaker when the microphone's own guide and plosive control allow it, aim away from unwanted sources, and record a short final-chain test. Prevention improves the voice-to-noise relationship before software has to choose between them.
Troubleshooting
Hiss falls, but “s” sounds disappear
Return to the original and reduce the amount or scope of processing. Accept more residual hiss or use local treatment on the noisiest sections.
The background bubbles around each word
The noise model or reduction may be too aggressive for the changing source. Retry lightly from the original and compare the full sentence.
Only the left channel hisses
Inspect that input and cable, then decide whether channel-specific repair or routing is appropriate. Do not process the clean channel by default.
The cleaned file sounds fine until it is normalized
Compare the entire processing order. Later gain can reveal residual noise and artifacts. Make final level decisions after the cleanup result is approved.
Frequently asked questions
Can hiss be removed completely?
Sometimes it can be reduced substantially, but complete removal may damage wanted high-frequency speech detail.
Is hiss the same as hum?
No. They sound different and may need different diagnostic or repair paths.
Why does my voice sound dull after cleanup?
The process may be removing wanted detail along with the hiss. Return to the original and use a lighter or manual approach.
Should I select a silent gap as the noise profile?
Use a representative noise-only section for tools that require one, then verify the result under speech. A gap from a different noise condition can produce a poor model.
Is some hiss acceptable?
Yes. Residual hiss that listeners stop noticing can be safer than damaged consonants or pumping ambience.
Related guides
- Reduce fan noise in voice recordings
- Diagnose hiss, hum, or static
- Clean a quiet voice with background noise
- Clean a podcast interview
- Use Audacity Noise Reduction
Sources and test notes
- Audacity Noise Reduction documents constant-noise fit, profile-based reduction, residue monitoring, and artifact risk.
- Shure SM57 placement guidance documents close practical placement, aiming toward the desired source, and rejection of unwanted sound.
These sources support conservative repair and capture principles. They do not prove a sample-specific result or diagnose a particular microphone chain.
Final action
Diagnose the steady texture first, preserve the source, and test the same hiss-under-speech passage. Use Noise Cleaner on a working copy when the saved-file path fits, or use a manual profile-based method when you need more control. Keep the output only when the hiss is less distracting and the speaker's consonants, breath, and identity remain intact.