How to Clean a Quiet Voice Recording With Background Noise
Clean a quiet voice recording with background noise by protecting soft words, testing a conservative pass, and recognizing when speech cannot be recovered.

To clean a quiet voice recording with background noise, preserve the original and test a passage where the speaker is quiet and the noise overlaps important words. Reduce distraction only as far as speech remains complete and natural. Noise Cleaner can be tested on a saved copy, but it cannot recover words that were never captured clearly, and raising the output can make both voice and residual noise more obvious. A partial improvement with intact speech is often safer than an aggressively quiet background with metallic or missing consonants.
Measure success by what a listener can understand, not by how small the background looks or how loud the final file becomes. Separate cleanup from later level adjustment so you know whether a word became clearer or merely louder.
Confirm that the voice is quiet—not clipped or missing
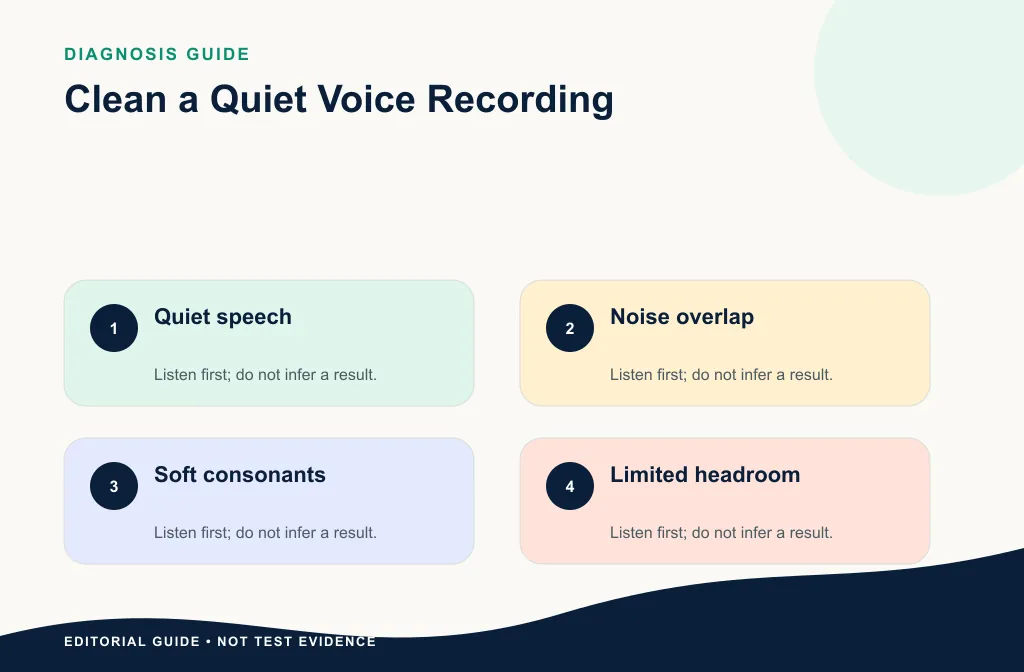
A quiet but intact voice may become easier to hear after careful cleanup and level adjustment. A clipped, distorted, or fully masked word is a different problem. Compare the waveform and sound with a clean sentence from the same speaker, but do not infer recoverability from waveform size alone.
Use the voice-recording cleanup guide for the broader review process. If you hear hiss, start with the hiss workflow.
Test what is actually present
Play the quiet phrase at a comfortable level and write what you hear before checking a transcript. If a consonant is faint but present, conservative cleanup and level work may help. If the word is clipped, interrupted, or completely covered, a processor cannot guarantee reconstruction.
Compare with a normal sentence from the same speaker. A very distant microphone may produce quiet speech plus room reflections; a low input level may produce quiet speech plus electronic noise. Those sources need different expectations even when the waveform looks small.
Identify why the voice is quiet
Possible causes include distance from the microphone, low input gain, a quiet speaker, wrong microphone selection, platform processing, or a noisy room that made the voice seem relatively weak. Diagnose the actual recording chain before recommending a gain or placement change.
The hiss, hum, or static guide helps separate a weak voice from a hardware-noise problem.
| What you hear | Likely issue | Safer first move |
|---|---|---|
| Quiet but clear speech with steady hiss | Low voice-to-noise balance | Test conservative cleanup on a copy |
| Distant, echoey speech | Microphone distance and room | Set modest repair expectations |
| Flattened or harsh loud words | Clipping | Find another source or specialist repair |
| One word covered by an impact | Local destructive overlap | Alternate take or local edit |
| Quiet participant in a mixed meeting | Source imbalance | Check separate participant audio |
| Voice becomes metallic only after processing | Artifact | Return to the original |
Build an intelligibility-first test
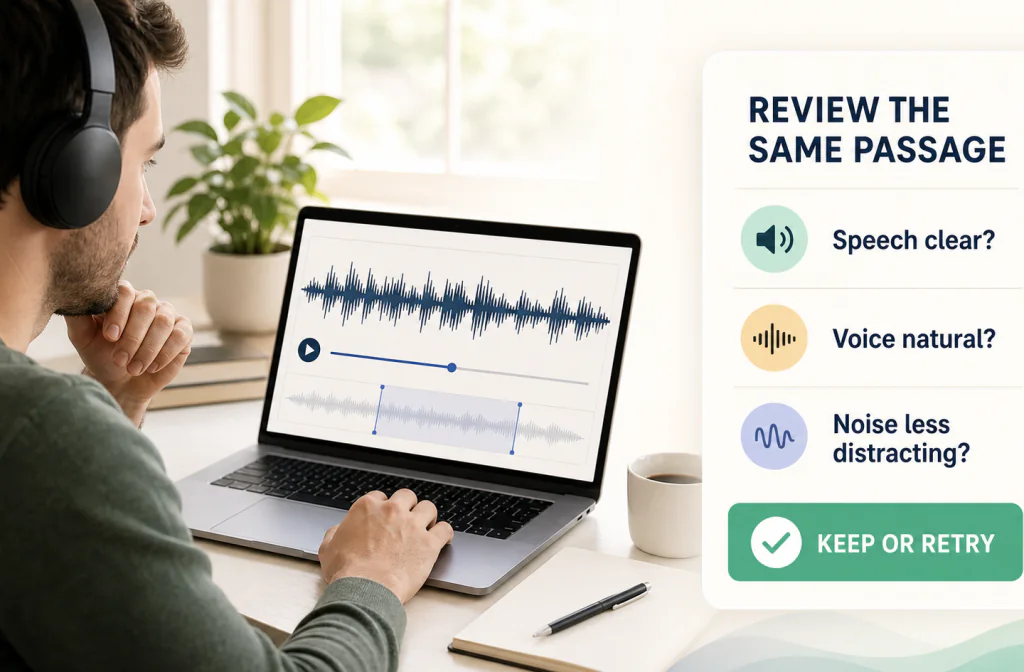
Choose a passage with the quietest useful speech, normal speech, a pause, and noise under words. Write down the transcript and ask a reviewer to note any uncertain words before processing. Compare the same passage at a similar playback level.
Review:
- whether previously understood words remain intact;
- whether any uncertain words become genuinely clearer;
- whether consonants or breaths disappear;
- whether the voice becomes metallic, dull, or watery;
- whether residual noise is acceptable for the real audience.
Ask a second listener to review the same passage without seeing the expected text. Record only whether key words were understood, uncertain, or missed; do not turn one listener's guess into a restoration claim. Then reveal the transcript and compare original and result at a similar playback level.
Include one easy sentence so you can hear whether the process changes already-clear speech. A method that improves the hardest phrase but damages the rest of the recording is not safe for a whole-file pass.
Test cleanup on a copy
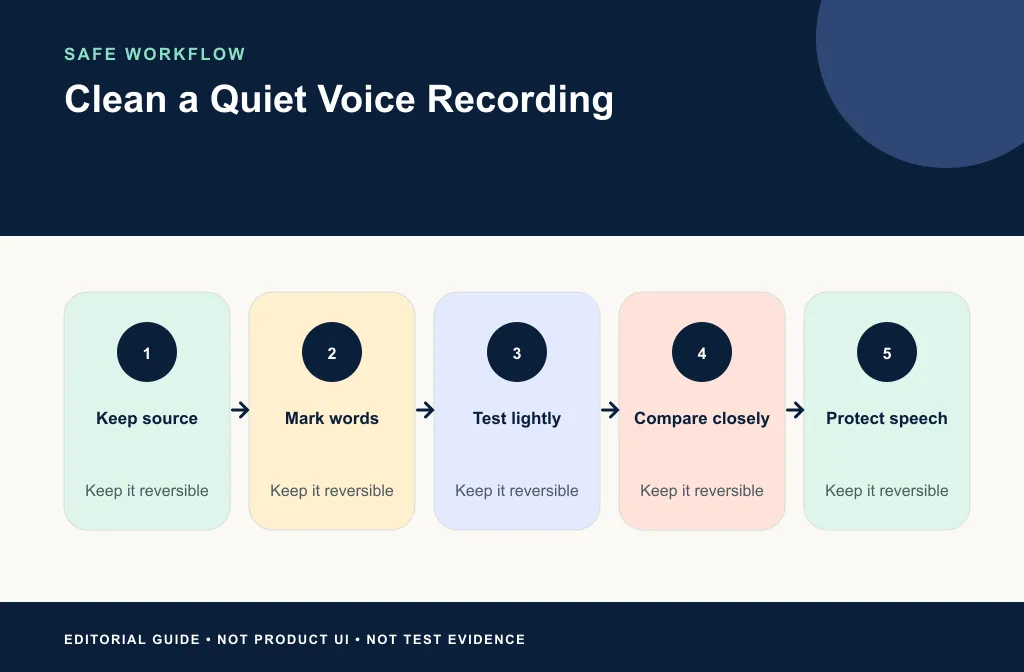
- Preserve the source and make a working copy.
- Record file, device, room, and microphone details.
- Mark the quiet passage and transcript.
- Upload the copy through verified Noise Cleaner behavior.
- Preview and compare the same words.
- Download and check the full output.
- Apply any level adjustment separately and document it.
- Keep the original until publishing is complete.
Keep cleanup and level adjustment separate
First approve whether noise became less distracting without speech damage. Then make any level adjustment in the editor and compare again. If you boost before and after without tracking the order, a louder file can bias the decision and raise residual noise or artifacts.
After download, play the actual file, not only the preview. Check the marked phrase, a normal sentence, a pause, and the beginning and end. Confirm duration and channels before continuing the edit.
Know when the result is only partial
State exactly what improved and what remained. Do not claim restored speech because noise became quieter. If a word is still uncertain, say so. If cleanup damages speech, return to the source and use a lighter or manual method.
For a downloaded meeting with quiet participants, use the Zoom recording workflow. Use the Before-and-After review guide for a repeatable decision.
AI cleanup, manual editing, or re-recording?
Use a saved-file cleanup test when a quiet but intact voice competes with steady background noise. Use manual section-level work when only some phrases need help or when level automation can improve audibility without broad processing. Check separate tracks for meetings and interviews. Re-record or replace a line when the words remain uncertain and the take is repeatable.
If the source is important and irreplaceable, preserve it and seek specialist restoration before applying a destructive chain. A transcript can support accessibility, but it should not be presented as proof that missing audio was recovered.
Limitations and artifact risks
- Raising level raises residual noise and artifacts with the voice.
- Strong reduction can remove quiet consonants because they resemble the noise floor.
- Distant speech includes room reflections that cleanup cannot fully undo.
- Clipping and complete masking destroy information.
- A quiet pause does not prove speech under noise improved.
- Listener guesses are not objective recovery measurements.
Accept partial improvement when the message remains intact. Some background noise is safer than a clean but incomplete voice.
Prevent quiet-voice problems next time
- Confirm the intended microphone is active.
- Move the microphone closer when appropriate and monitor plosives.
- Set gain with the real speaker, not an empty room.
- Record and listen to a short test.
- Monitor through headphones.
- Reduce the noise at the source before asking software to repair it.
Shure's placement guidance recommends aiming the microphone toward the desired source, away from unwanted sound, and keeping it close enough for useful isolation. Apply those principles through the actual microphone manual. Record a short sample with the real speaker and room before a meeting, interview, or narration session.
Troubleshooting
The voice is louder but not easier to understand
Return to the level-matched comparison. The problem may be masking, echo, or missing consonants rather than simple level.
Quiet word endings disappear after cleanup
Reduce the strength or scope of processing and keep more residual noise. Consider local automation for the quiet section.
One meeting participant remains much quieter
Check whether the platform recorded separate participant audio. Treat that authorized track independently instead of pushing the mixed recording harder.
The output pumps around every phrase
Return to the original and retry lightly. The changing noise and quiet voice may not support a broad whole-file process.
Frequently asked questions
Should I amplify before noise reduction?
Treat level and noise as separate decisions. Test both orders on a copy and record the method; avoid assuming that louder means clearer.
Can AI recover speech hidden by noise?
It may reduce distraction, but it cannot guarantee recovery of speech detail that was not captured.
When should I re-record?
Re-record when important words remain uncertain, the take can be repeated, and cleanup creates more damage than benefit.
Should I normalize the file first?
Test cleanup and level as separate documented steps. Normalize only for a clear workflow reason, then compare at a fair playback level.
Is some background noise acceptable?
Yes. Low steady noise that does not block comprehension is often preferable to missing consonants or metallic speech.
Related guides
- Remove noise from a voice recording
- Review Before and After cleanup
- Identify and reduce hiss
- Diagnose hiss, hum, or static
- Clean a Zoom recording
Sources and test notes
- Shure SM57 placement guidance documents close practical placement, source aiming, and rejection of unwanted sound.
- Audacity Noise Reduction manual explains why high or variable noise can lead to distortion and why conservative review matters.
These sources support capture and processing principles. They do not prove that a particular quiet word became intelligible.
Final intelligibility decision
Preserve the source, test quiet and normal speech, and ask whether the same words are genuinely easier to understand. Use Noise Cleaner on a working copy when steady noise is the real obstacle, then adjust level separately. Keep the result only when speech remains complete and natural; choose local editing, another track, specialist repair, or re-recording when the source cannot support more cleanup.