Remove Background Noise in Camtasia: Native Noise Removal, Export, and Review
Use Camtasia's native Noise Removal effect carefully, export a short review file, check sync, and choose a safer saved-file fallback when needed.
Quick answer
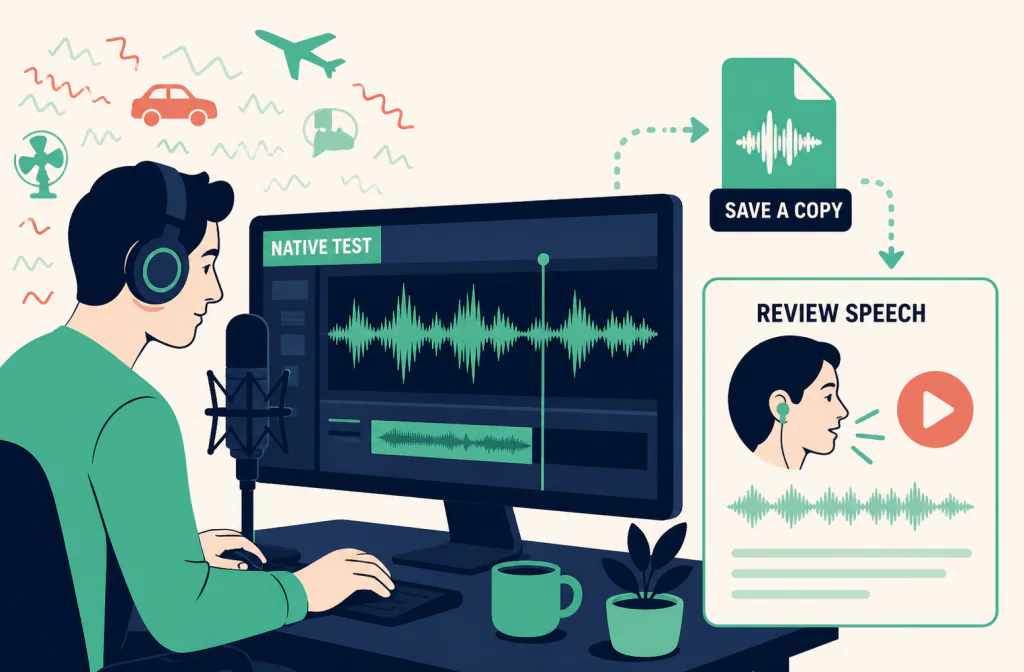
Start in Camtasia, not with an extra processor. Put a copy of the clip on the timeline, apply the native Noise Removal effect, and compare it with the bypassed original on the same spoken sentence. TechSmith documents different controls on Windows and Mac: Windows can use Analyze and exposes Sensitivity and Amount, while Mac uses Sensitivity and Reduction. If that native pass is not enough, export a separate, authorized copy and evaluate it as a saved file with Noise Cleaner's Audio Cleaner. That is an offline upload-and-review workflow, not a Camtasia plug-in or a live filter.
The goal is a less distracting recording without making speech brittle, hollow, or hard to understand. Keep the original media and stop when a lighter setting is more natural than a stronger one.
Check your Camtasia version and platform first
Do not copy a Windows version number onto a Mac. TechSmith's Camtasia Windows 2026 version history lists 2026.2.1 on August 18, 2026, while its macOS compatibility table maps supported Camtasia versions to macOS releases instead. Check About Camtasia and your operating system before following a version-specific tip.
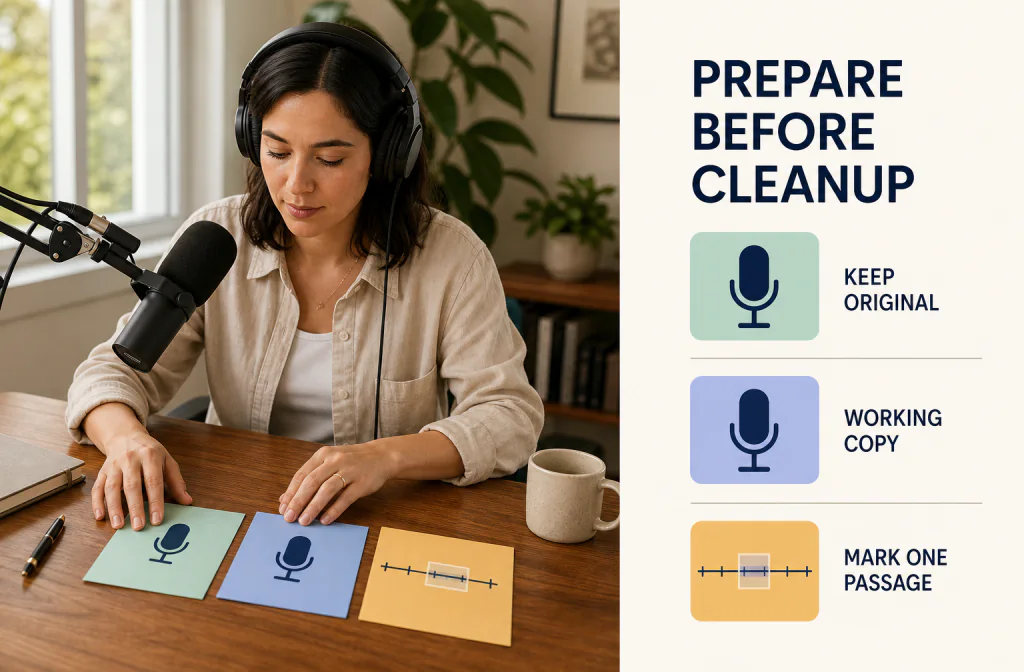
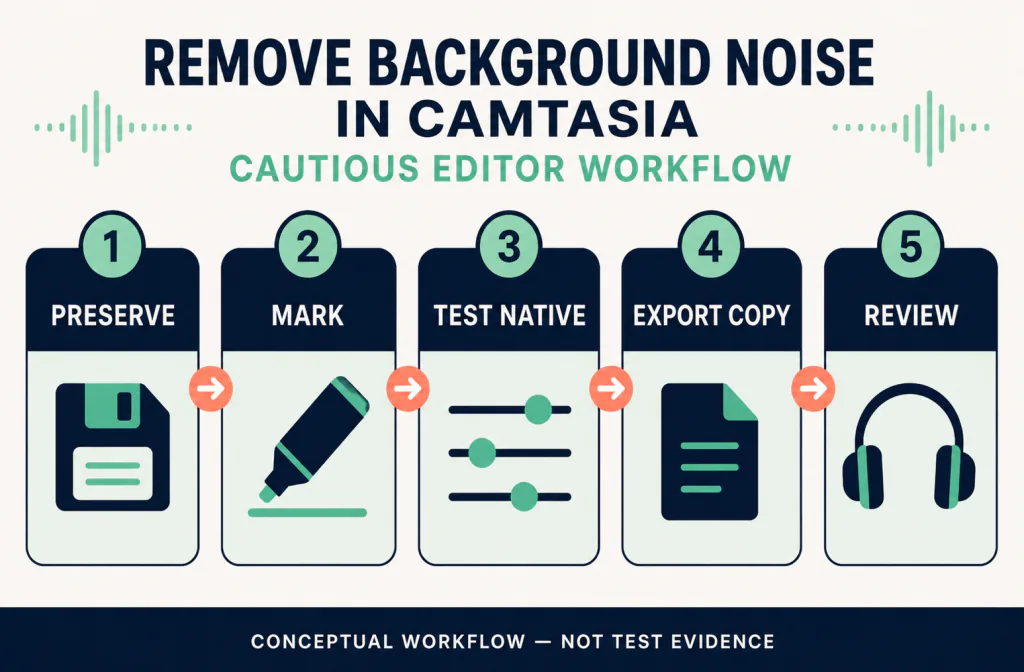
For any video, duplicate the project or the clip before changing it. Note one point near the beginning, one in the middle, and one near the end where a lip movement, mouse click, or other visual cue makes sync easy to spot later. The recording-preparation checklist is a useful way to protect the source file before you start.
Use Camtasia's native Noise Removal effect
TechSmith documents this route for the traditional effect:
- Import the recording and place it on the timeline.
- Open Audio Effects.
- Drag Noise Removal onto the audio track that contains the problem.
- On Windows, use Analyze if it is available, then adjust Sensitivity and Amount. On Mac, adjust Sensitivity and Reduction.
- Play the same short section with the effect on and off before making another change.
Those platform differences come from TechSmith's Noise Removal guide. Make one change at a time. A quiet pause can sound impressively clean while soft words lose their edges, so include ordinary speech and the noisiest phrase in every comparison.
Camtasia also refers to an AI Noise Removal option in Rev. Treat it as a separate path from the Audio Effects control: do not assume its controls, analysis behavior, or output will match the traditional effect. Decide which path you are using, keep the other one bypassed, and avoid stacking both merely because each makes the track quieter.
Listen for the right trade-off
A better result is not simply the quietest one. Switch quickly between the effect and the original at a similar playback level, then listen for:
- word beginnings and endings, especially quiet consonants;
- pumping or sudden changes in room tone;
- metallic, watery, or fluttering texture;
- wanted sounds such as music, a second speaker, or intentional ambience; and
- the transition into and out of a noisy section.
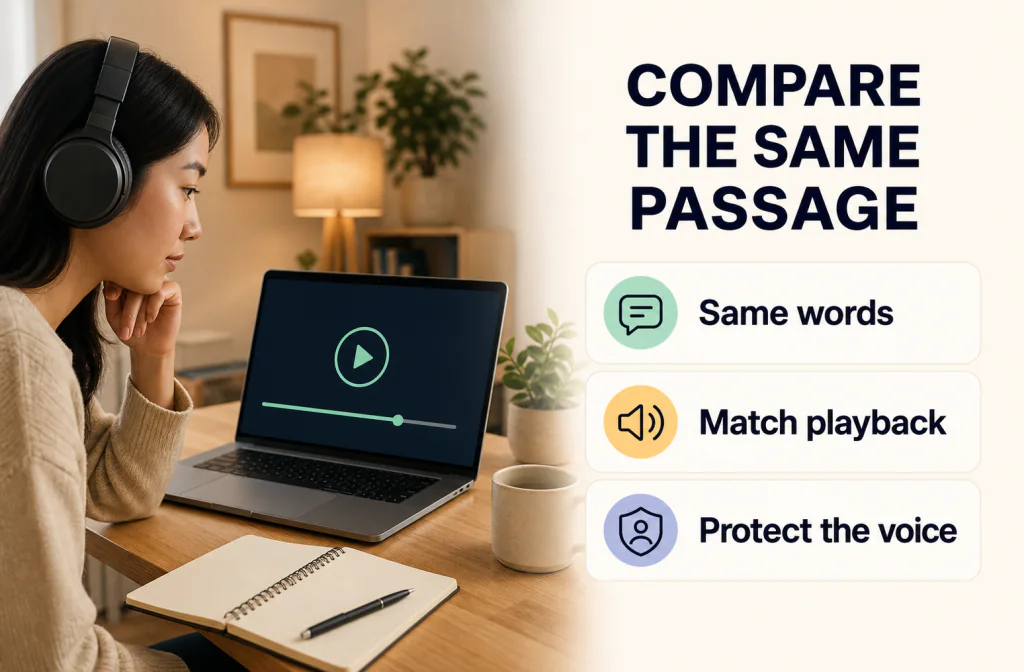
The same-segment review method is a useful guard against mistaking louder playback for a better result. If the noise is mainly audible between phrases, a gate or local mute may be a better fit than continuous reduction. The noise reduction versus noise gate guide explains the distinction. If the source is a WAV recording, preserve the unprocessed version and use the WAV file workflow before converting it again.
Export a short review file before the full project
Once the native effect sounds reasonable, export a short section through Export > Local File and play that file outside Camtasia. TechSmith's video-creation and export guidance documents formats including MP4, GIF, and M4A. It does not justify assuming that every build offers MP3 or WAV, so confirm the choices shown in your own export panel.
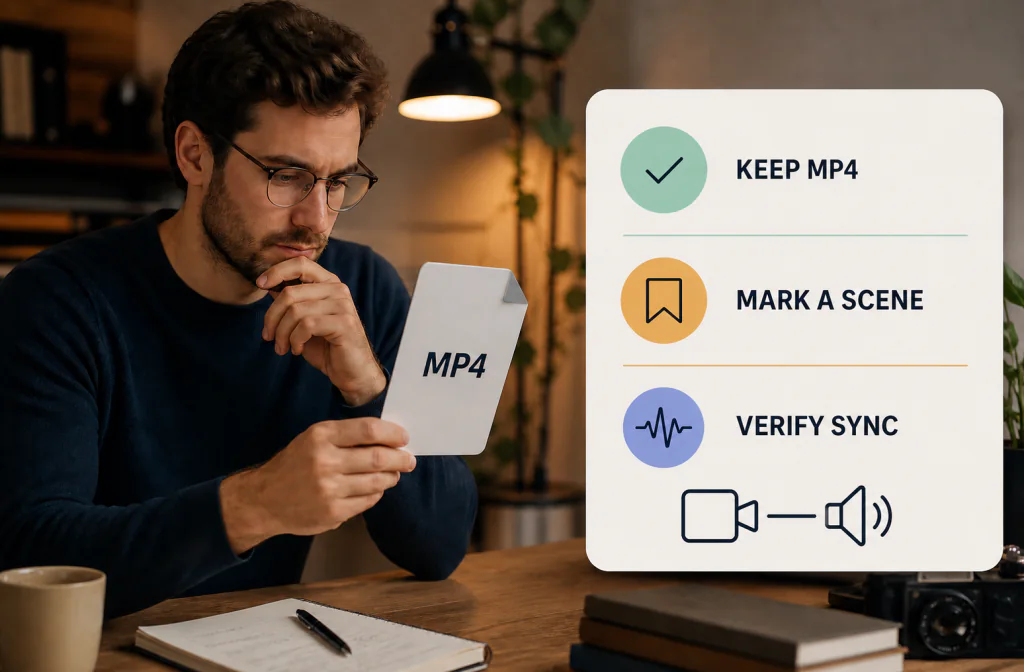
Reimport that short output on a new track or in a duplicate project. For video, compare the three sync points you wrote down before editing. The MP4 audio workflow and the video/audio sync checklist help separate an audio decision from an export or timing problem.
When an exported-file cleanup is worth trying
Use a saved-file workflow only after you have heard what Camtasia's native effect does to the difficult passage. Export one authorized copy, preserve the original, and check the current Audio Cleaner upload screen for compatibility before using it. Review the returned file separately; do not overwrite the track in your project until speech, duration, channel behavior, and video sync have all been checked.
This route is useful for a file that already exists. It does not change a microphone while you record, manage Camtasia's timeline, or guarantee recovery of clipped speech, strong room reflections, competing voices, or sound hidden beneath music.
Troubleshooting Camtasia noise removal
| What you hear | Safer next move |
|---|---|
| Speech becomes metallic or watery | Undo the last change and use a lighter native setting. |
| Quiet words disappear | Compare the bypassed clip; lower the processing rather than applying another effect. |
| Noise shifts during the recording | Split the decision by section, or leave some residue instead of forcing one setting across the file. |
| The export differs from preview | Test a short Local File export before changing the full project. |
| Reimported video drifts | Return to the original timing, then check start, middle, and end sync points. |
Run a useful short test before touching the full edit
A short test is not a shortcut around judgment; it is a way to make the judgment repeatable. Pick a 20-to-30-second region with a few seconds of lead-in, normal speech, a quieter phrase, and the background sound you actually want to reduce. A section with only silence will not tell you whether the effect is taking detail out of the voice.
Duplicate the clip or project, then make one native Noise Removal decision in the duplicate. Keep the playhead in the same place for every comparison. It helps to write down a small review note such as “fan audible under sentence two” or “word ending softened after effect.” That note is more useful than a vague memory that one version seemed cleaner an hour ago.
Use at least two playback paths. Headphones make small texture changes easier to hear, while a laptop speaker or phone speaker can reveal whether the words still carry in ordinary listening. Do not normalize a comparison merely by pushing one playback volume higher. If a stronger setting seems clearer only because it is louder, reduce the playback difference and listen again.
For a screen-recording tutorial, also watch the section with the picture visible. A clean-sounding file that falls out of sync at a cut, cursor click, or on-screen demonstration has not completed the job. Test a hard sync cue rather than relying on a general impression from the timeline.
Choose an effect order deliberately
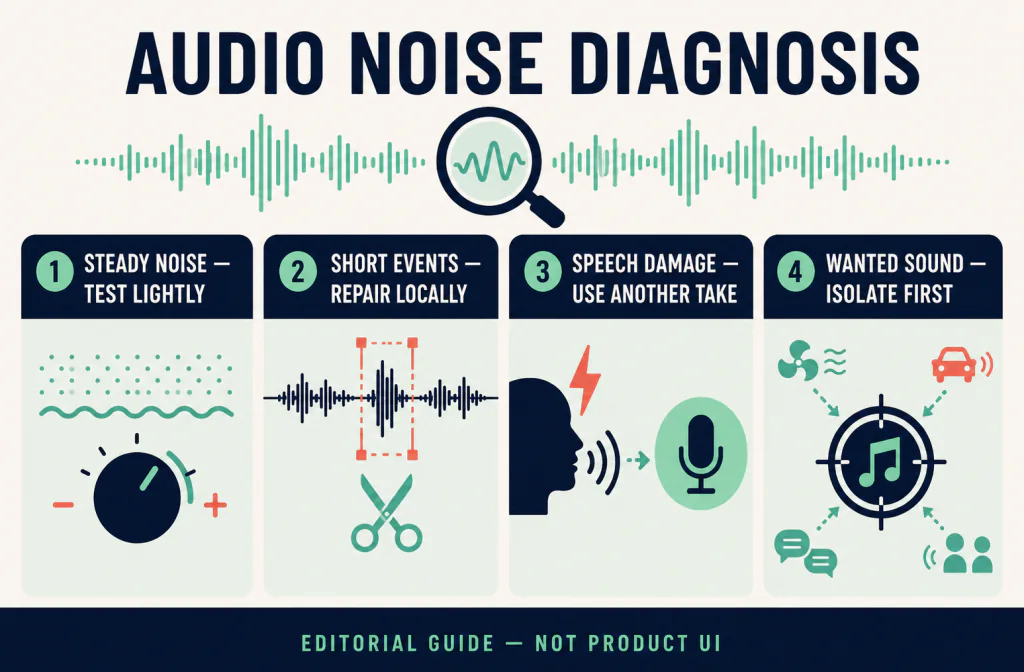
Noise Removal is not a repair-all button. Start with the effect that answers the named problem, then stop and listen before adding another one. A gate may be useful when unwanted sound is confined to pauses. A local cut may be more transparent for a single keyboard bump or cough. A separate audio track may need attention before a mixed timeline because processing a whole mix can change music, effects, or another person's voice.
Avoid a chain in which one processor damages the voice and the next processor is used to hide that damage. If the native effect creates metallic texture, return to the untreated clip first. If the recording has clipped peaks, severe reverberation, competing speech, or words buried beneath an effect or music bed, setting a more aggressive noise-removal value does not restore the missing information.
When you try an exported-file workflow, keep its result beside the native export rather than replacing the native track immediately. Label the versions by workflow, not by “final,” so you can still return to the untouched source. The decision is not which processor is more impressive in a short pause; it is which version preserves the words and the project behavior you need.
Practical choices for common Camtasia projects
For browser-based design work, use the Canva Enhance Voice and MP4 review guide instead of copying Camtasia controls into another editor.
For a Filmora timeline, use the Filmora Audio Denoise and short-export workflow instead of assuming that Camtasia's Windows or Mac effect controls carry over.
For a narrated screen recording, prioritize complete speech and timing around demonstrations. A faint, steady room sound may be acceptable if stronger reduction softens technical terms or cursor narration. For a talking-head lesson, listen for breathing, word endings, and room-tone changes around edits. For an interview, identify whether the noise belongs to one person or the complete mix before you process a track that contains both speakers.
For a short social video, the easiest route can still be the native one: make a restrained change, export a short proof, and move on. For a long tutorial, use several representative regions because the room, microphone position, and speaking level can change from section to section. Do not assume that a setting chosen during the introduction will be safe during a quiet explanation near the end.
Check the final export, not only the timeline preview
Preview playback can differ from a rendered deliverable because the editor is also drawing the timeline, decoding video, and handling effects. After your short test passes, export a named full-length review file rather than overwriting an earlier result. Play it in a separate application from the beginning, then revisit the difficult passage and the final minute.
For a video, verify the picture and sound together. Watch a visible consonant or hard action near all three marked sync points. Confirm that the file starts where expected, ends where expected, and has no silent or repeated section introduced by the export. If the result will be uploaded to another platform, review the platform's processed playback before deleting any local version.
If the export fails one of these checks, return to the duplicate project and isolate the cause. Do not compensate for drift by stretching an otherwise correct recording unless you know why the durations changed. Keep the original project, the native-test export, and any separate cleaned file until the delivered video has passed its final review.
Limits that matter more than a quieter waveform
Noise reduction cannot reconstruct information that was never captured. It cannot promise to restore clipped peaks, words masked by another speaker, or dialogue buried below music. Strong processing can also trade steady background noise for changing speech texture or pumping room tone.
When the unwanted sound occurs only once, a local edit may protect more speech than a global effect. When a short narration can be repeated, re-recording in a quieter position may be faster and safer than repeated processing. When the media is valuable or irreplaceable, preserve the source and consider specialist restoration rather than experimenting on the only copy.
Only edit or upload media you are entitled to use. Recordings of meetings, interviews, customers, or private conversations may carry consent and confidentiality obligations that are separate from the technical workflow.
Frequently asked questions
Can I use Analyze on a Mac?
TechSmith documents Analyze as a Windows-only option for this Noise Removal workflow. On Mac, use the available Sensitivity and Reduction controls and compare the same passage.
Does Camtasia Noise Removal fix every audio problem?
No. It can be a useful native first pass, but it cannot promise to restore speech that was clipped, masked by another voice, or never captured clearly.
Should I process the whole timeline immediately?
No. Start with a short, representative section, export it, and listen outside the editor. Then decide whether the trade-off is acceptable for the rest of the recording.
Is the exported file the same as the Camtasia project?
No. The project retains the timeline, source references, edits, and effect choices. An exported file is a rendered deliverable. Keep both until the final output passes speech, duration, playback, and sync checks.
When should I try a separate audio-cleaning route?
Try it only after the native result has been reviewed and you have a compatible saved copy. Use the separate result as another comparison, not as a replacement for source preservation or Camtasia's timeline tools.
Official sources and test notes
- TechSmith: Camtasia Windows 2026 version history documents the current Windows release history.
- TechSmith: macOS requirements for Camtasia documents supported macOS and Camtasia combinations.
- TechSmith: remove background noise in Camtasia Editor documents the Audio Effects path and platform-specific controls.
- TechSmith: make a video with Camtasia Editor documents the broader recording, editing, and export workflow.
These official sources were rechecked on September 7, 2026. They support the native control, version, and export scope described here; they do not prove an improvement for a particular recording. No sample-specific Camtasia export/reimport test or original Camtasia screenshot is presented. The three illustrations are conceptual editorial media, not Camtasia screens, measured waveforms, or Before-and-After evidence.
Final decision
Use Camtasia's native Noise Removal carefully on a duplicated clip, compare the same passage, and export a short proof before processing the full project. If a compatible saved copy still needs a separate comparison, test Noise Cleaner and reimport its result only on a duplicate track. Keep the version that preserves intelligible, natural speech and correct video timing—even when that means accepting some background sound or returning to the original.