Remove Background Noise in CapCut: Native Steps and an Exported-Video Fallback
Remove background noise in CapCut by testing the current native option first, reviewing speech, and using an exported-video fallback when needed.

In the current CapCut workflow documented by CapCut, import the video, select the clip, open its audio controls, enable the available noise-reduction option, and preview the same spoken passage with the control on and off. The exact label and panel can differ by desktop, web, mobile, region, or release, so verify your installed version. If the native result remains noisy, preserve the project and test a separate exported-file cleanup through Noise Cleaner. This fallback must use a verified input/output route and a sync check; it is not a promise that every video can be repaired.
Use CapCut's native answer first because that is the task you came to solve. Move to a file handoff only when the native result is not acceptable and you can preserve source quality, timing, and rollback.
Record your CapCut platform and version
Write down whether you are using desktop, web, or mobile and capture the version where available. Open the project, select the target clip, and confirm the current audio control name before writing or following a fixed path. CapCut’s official guides describe selecting the clip and using an audio-panel noise-reduction control, but interfaces change.
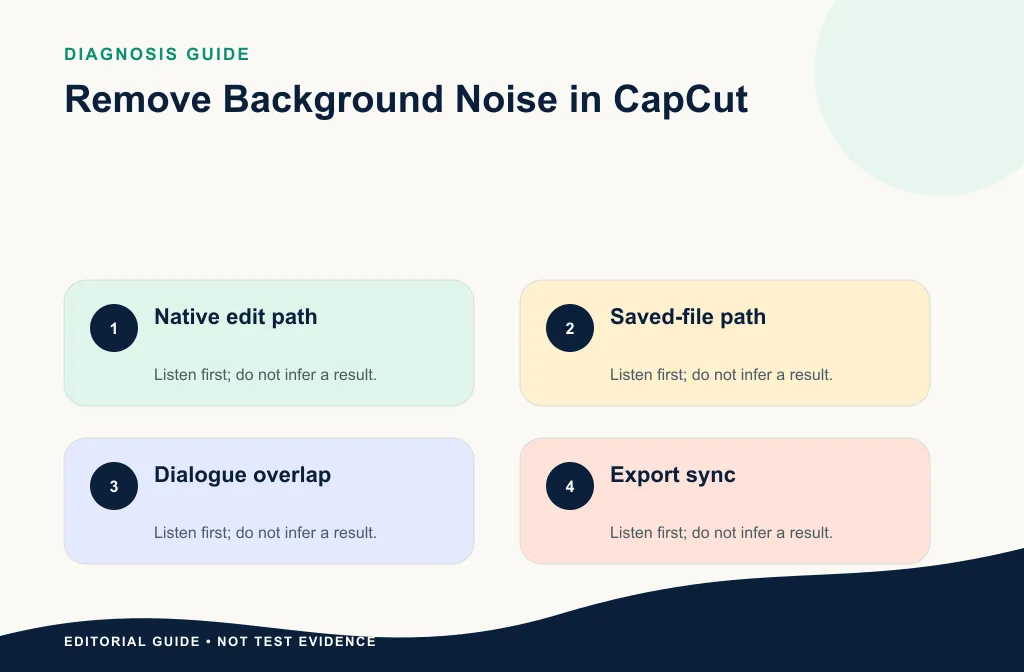
Capture original screenshots of the imported clip, the current control, bypass comparison, export settings, and final result. Do not fabricate the interface.
Before enabling anything, play the clip and identify the real problem. Steady room noise, typing, wind, clipping, and echo need different expectations. Check whether the clip also contains music or useful ambience. A broad cleanup pass can affect wanted sound as well as dialogue.
Test CapCut’s native cleanup first
- Duplicate the project or clip.
- Mark 15–30 seconds with speech and the main noise.
- Select the clip and locate the current audio noise-reduction control.
- Enable it and preview the same words.
- Compare speech clarity, naturalness, and residual noise.
- Turn it off again to confirm the difference.
- Export a short test and play it outside CapCut.
Native steps should come before a fallback. If the result is acceptable, keep the simpler workflow.
Review the native result fairly
Compare the same words with the control on and off at a similar level. Listen through one full sentence, not only a pause. Check quiet consonants, breaths, room continuity, and music. Then export the short test: the timeline preview is not the final deliverable.
Use these keep criteria:
- speech is easier to follow without sounding metallic or thin;
- noise under words is less distracting, not only noise between phrases;
- ambience and music do not pump;
- the exported clip plays and remains in sync;
- you can return to the untouched project if the full edit behaves differently.
Know when the native result is not enough
Stop and reconsider when speech becomes metallic, breaths disappear, ambience pumps, or words remain masked. Use the metallic-voice recovery guide rather than increasing an effect blindly.
For MP4-specific source and output checks, see how to clean audio in an MP4.
| What happens | Next step |
|---|---|
| Native result is natural and useful | Keep it and finish the edit in CapCut |
| Voice becomes metallic or dull | Return to the original and reduce processing |
| A few isolated alerts remain | Repair or cut those events locally |
| Steady noise remains under speech | Test an authorized saved-file copy |
| Wind or clipping hides words | Use another take or re-record when possible |
| Music changes with dialogue | Isolate dialogue or choose a lighter path |
Export and test a separate cleanup
- Preserve the CapCut project and source clip.
- Export a short test using documented settings.
- Record duration, frame rate, container, and one sync point.
- Verify the current Noise Cleaner build accepts the file or an approved audio export.
- Process the copy and compare the same words.
- Reimport when required and align it to the original start.
- Check beginning, middle, and end sync.
- Export a proof clip before changing the full project.
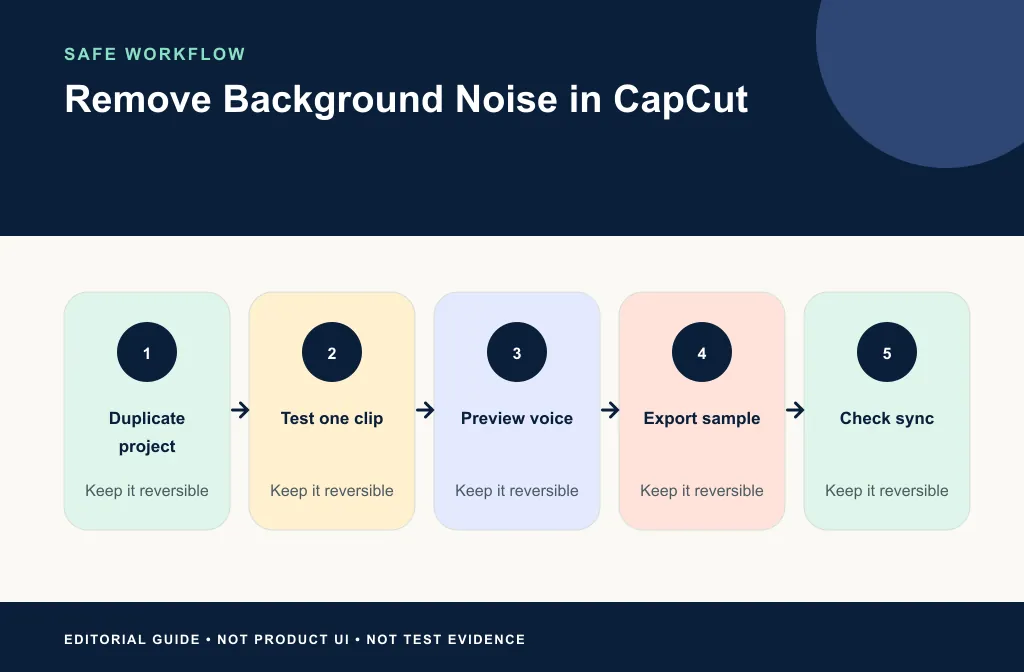
Preserve timing during the fallback
If you export audio, begin from a known project time and keep leading silence that anchors the track. Reimport onto a new track, mute the original, and check visible consonants or hard actions near the beginning, middle, and end. If you process a video file directly, verify that the returned file still contains picture and sound and that its duration matches the expected edit.
Play the proof clip outside CapCut. If the external render is aligned but the timeline stutters, do not move media to compensate for preview lag.
Decide by creator workflow
For a talking-head clip, use the talking-head cleanup guide to judge lips, room tone, and phone playback. For YouTube interviews, use the YouTube interview workflow because multiple speakers and longer edits change the decision. DaVinci users can compare the separate Resolve workflow.
For short social videos, review on a phone and watch every cut. For a tutorial, protect click and cursor timing. For an interview, test both speakers. For a music-backed edit, isolate dialogue when possible instead of asking one processor to decide what is wanted.
Limitations and safer alternatives
- The exact CapCut panel and feature label can change across platform and release.
- Native reduction cannot recover speech hidden by clipping or loud overlap.
- Strong processing may remove breaths, consonants, ambience, or wanted music.
- Exporting and reimporting audio can introduce offset or drift.
- A browser or timeline preview does not prove the final export is correct.
- Stacking automatic processors makes artifacts harder to diagnose.
Use local editing for isolated events and re-recording for short damaged lines. If the voice becomes watery, follow the metallic-voice recovery workflow from the original rather than processing the damaged export again.
Troubleshooting
The noise-reduction control is missing
Confirm your platform, app version, selected clip, and account/region. Use CapCut's current official documentation rather than copying a screenshot from another release.
The voice sounds robotic after export
Return to the duplicate project, reduce or disable native processing, and test one stage at a time. Compare the exported file at a similar level.
The replacement audio drifts
Compare the source and returned durations and confirm the same project range. Follow the video/audio sync guide before stretching or cutting the track.
Noise remains only during speech
A gate-like method cannot remove overlap while it is open. Test a lighter saved-file cleanup or improve the source; do not simply stack more effects.
Frequently asked questions
Why can’t I find the same button shown in a guide?
You may be using a different platform, region, or release. Confirm the current interface and use official documentation for your version.
Should I clean before or after editing?
Test early on a representative passage, but keep the original and avoid locking a processed result before the edit is stable.
Can I stack CapCut cleanup and another automatic process?
You can test it, but change one stage at a time so you can identify artifacts and return to the source.
Should I export video or audio for the fallback?
Use the route verified for the current product and your project. Video avoids reimport only when picture and timing are preserved; audio offers control but requires alignment and channel checks.
Will cleanup remove wind from an outdoor clip?
Light rumble may become less distracting, but strong gusts can overload the microphone and mask words. Use the wind-noise video guide before choosing a repair.
Related guides
- Clean talking-head video audio
- Clean audio in an MP4
- Clean YouTube interview audio
- Recover from metallic speech
- Remove background noise in DaVinci Resolve
Official sources and test notes
These CapCut-owned pages describe the current general noise-reduction workflow. Because CapCut interfaces can vary by platform and release, use the control actually visible in your installation. The sources do not prove a particular result or Noise Cleaner handoff.
Final choice
Test CapCut's native control on a duplicate first. Keep it when the exported clip has clearer natural speech and intact timing. If it fails, preserve the project and use Noise Cleaner on a supported working copy, then reimport and run the three-point sync check. Choose local repair or re-recording when the problem is isolated or destructive.