How to Clean Talking-Head Video Audio Before Publishing
Clean talking-head video audio with a saved-file test, dialogue-first review, realistic repair limits, and final lip-sync checks before publishing.
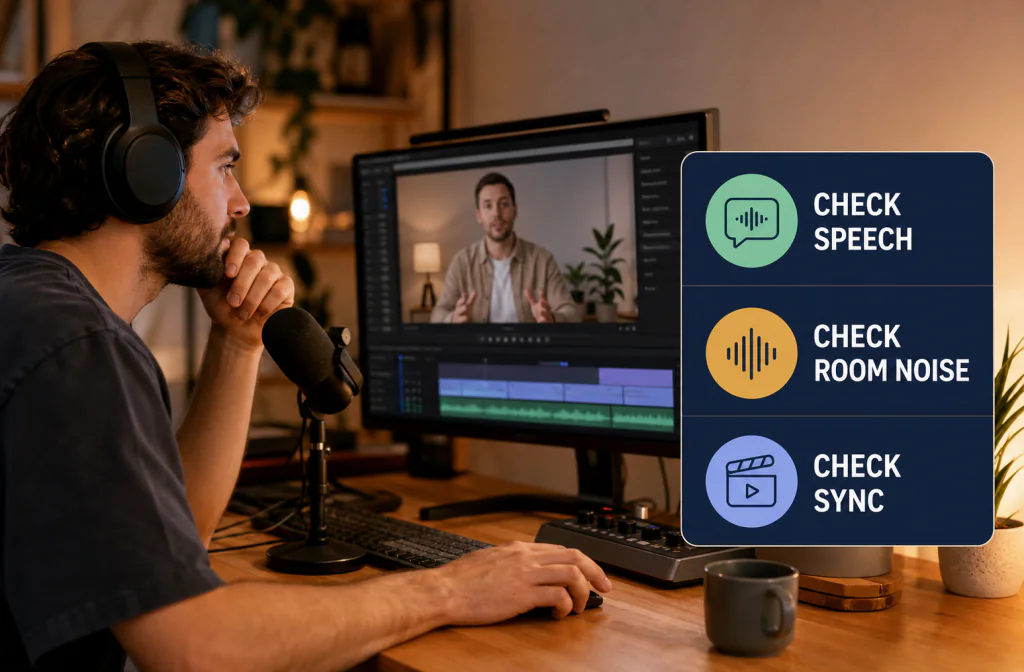
To clean talking-head video audio, preserve the camera original, mark a short section where the distracting sound overlaps speech, and decide whether your tested workflow accepts the video directly or requires an audio export. After cleanup, compare the same spoken lines and verify lip sync at the beginning, middle, and end. Noise Cleaner can support a saved-file cleanup workflow, but direct video-container preservation must be confirmed in the current build. Noise reduction cannot recover dialogue that is clipped, badly distorted, or masked by louder sound.
Your decision has two parts: does the voice sound better, and does the finished video still work? A cleanup pass is useful only when speech remains natural, room continuity is acceptable, and the final render stays aligned from start to finish.
Diagnose the actual distraction
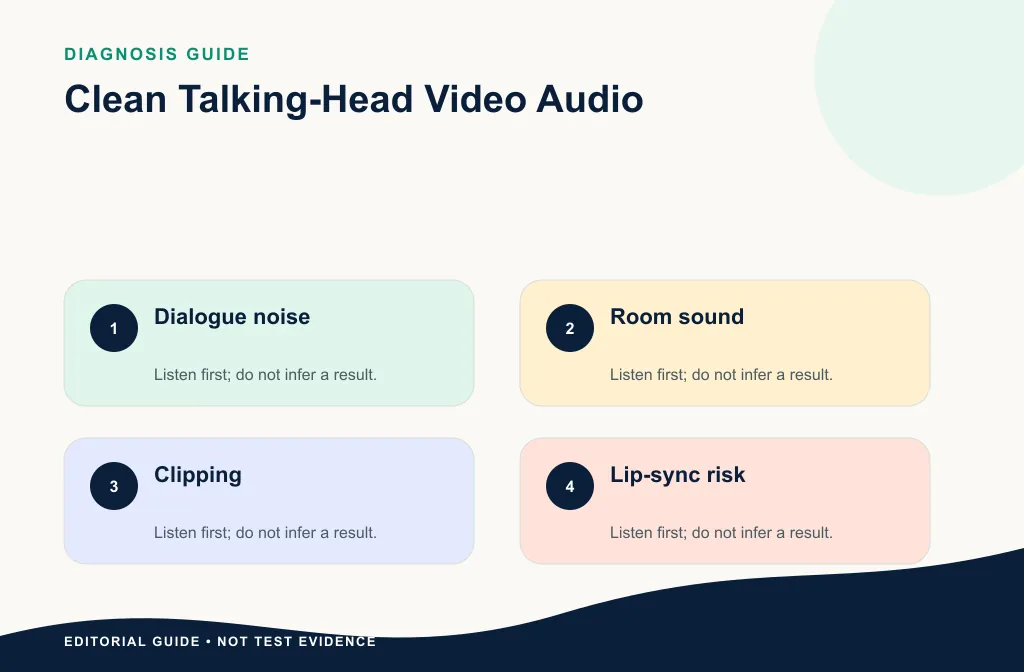
Talking-head audio can contain steady room noise, HVAC, camera preamp hiss, reflections, street noise, clothing rustle, or intermittent handling sounds. These do not respond equally to one process. Listen to a pause, normal speech, quiet speech, and a section with the worst overlap.
If outdoor wind is the main problem, use the wind-noise video guide. If timing is already uncertain, read the audio-sync verification workflow before changing the file.
Separate steady noise from event damage
Steady HVAC or preamp hiss may be a candidate for a broad, conservative test. A chair squeak, clothing hit, or door slam is a local event and may be safer to repair in an editor. Echo and distant speech require different expectations: reducing background sound does not move the microphone closer or rebuild room reflections. Clipping, dropped samples, and words covered by another sound are destructive problems; another take is often the honest choice.
| What you hear | First action | Main risk |
|---|---|---|
| Steady fan or room wash | Test a light saved-file cleanup | Dull or watery speech |
| A few clicks or bumps | Repair those moments locally | Abruptly silent patches |
| Strong room echo | Try limited repair with modest expectations | Thin, phasey voice |
| Wind buffeting or overload | Use wind-specific diagnosis | Missing words cannot be restored |
| Clipped peaks | Find another source or specialist repair | More distortion after enhancement |
| Music under dialogue | Test with the music present | Music may pump or change |
Choose the correct file path
There are two valid routes, but only one should be described after current-product testing:
Direct-video route
Upload the saved video, process it, preview the same scene, download the result, and verify container, duration, frame rate, and lip sync. Do not use this route in published instructions until those behaviors have been tested.
Exported-audio route
Duplicate the editing project, export an isolated dialogue track when practical, preserve its exact start time and duration, clean that audio, then reimport it without shifting the clip. Mute—not delete—the original track until the replacement passes review.
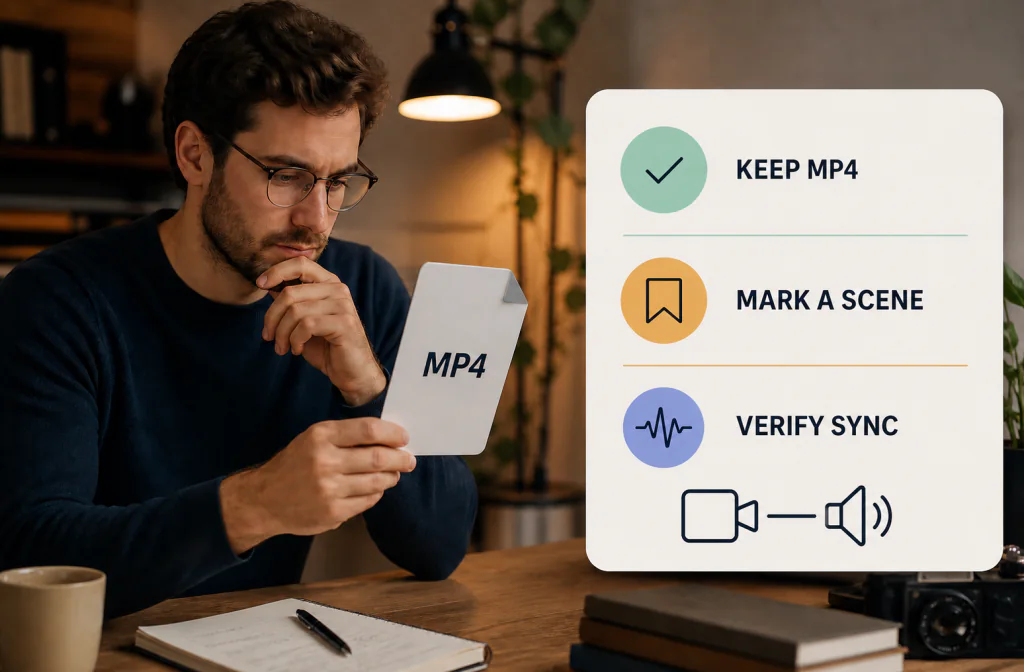
The MP4 cleanup guide covers the container-specific checks, while the YouTube interview workflow focuses on multi-speaker editing.
Choose the direct route only after confirming the exact video format, output behavior, duration, and playback in the current workflow. Choose the audio handoff when your editor gives you better control over isolated dialogue and reintegration. Do not extract audio merely because it feels familiar: every handoff creates a timing, channel, and replacement step that must be checked.
Build a fair test before processing
Choose a 15–30 second scene with visible lip movement, a clear sentence, a pause, and the main noise under speech. Record its timeline start, end, and transcript. Compare the original and cleaned versions at a similar playback level.
Judge:
- whether the voice remains natural and complete;
- whether room or equipment noise is less distracting;
- whether music or ambience changes unexpectedly;
- whether video and audio stay aligned;
- whether the full output remains playable.
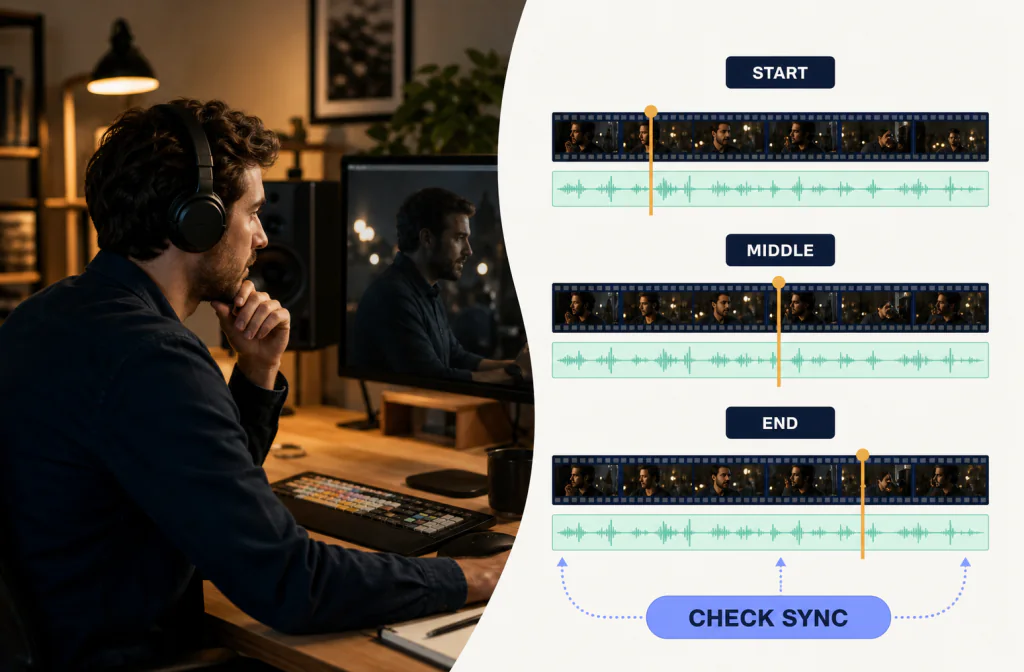
Add visible sync references. Choose a clear mouth closure on a “p” or “b,” a clap, or a hard action near the beginning, middle, and end. If the replacement matches at the start but drifts later, stop and inspect duration, sample rate, frame-rate assumptions, or accidental time stretching.
Run the cleanup workflow
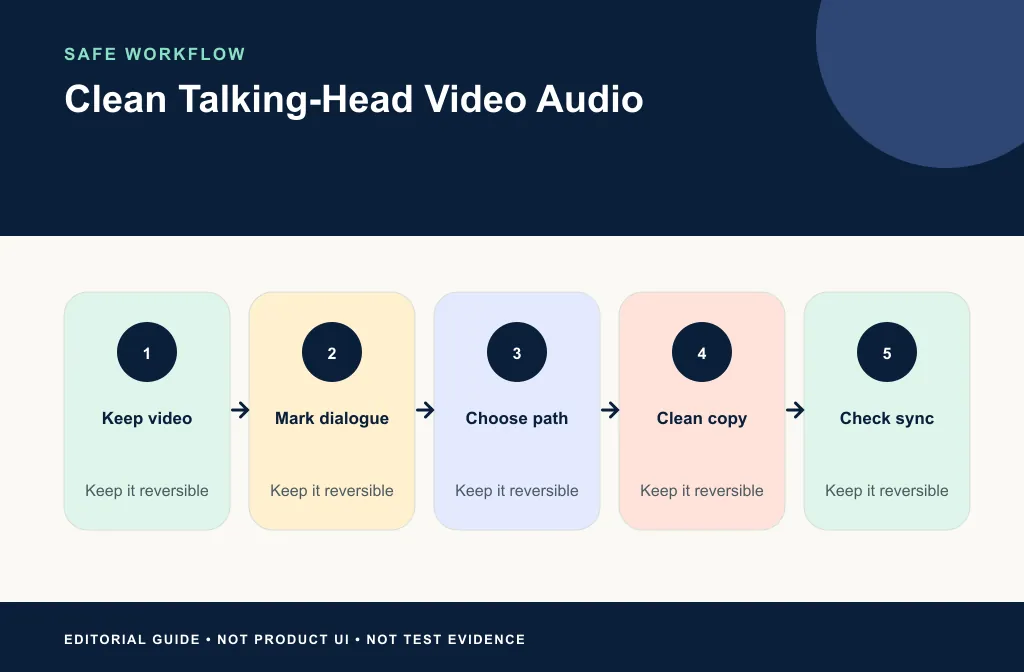
- Preserve the original video and duplicate the project.
- Confirm the tested input path for the current product build.
- Upload the direct video or exported dialogue copy to Noise Cleaner.
- Preview the marked lines and compare the same words.
- Download the output and inspect its real format and duration.
- Reimport if needed, align to the original start point, and verify sync.
- Export a short proof segment before processing the full project.
Review dialogue like a viewer
First listen without looking at a waveform. Can you understand every word without leaning in? Does the speaker sound stable when they turn their head or change volume? Then watch the picture and look for late consonants, cuts that no longer land, and room tone that jumps between shots. Finally, compare the same lines with the original at a similar level.
Do not select a result only because it is louder. A level-matched original may reveal that the difference is smaller than it first seemed. A modest reduction that protects the voice can work better than a silent background with obvious artifacts.
Review on more than one device
Headphones expose artifacts and low-level noise. A phone or laptop speaker reveals whether words remain clear in ordinary viewing. Check captions or transcript alignment if they depend on the audio. A cleaned voice that sounds impressive on one pair of headphones but loses consonants on a phone is not a usable result.
For short-form editing, the CapCut native and fallback guide can help decide whether to clean inside the editor or hand off a saved file.
Also test the final rendered file outside the editor. Timeline playback can stutter, use proxies, or hide a container problem. Check the beginning, marked scene, a middle scene, and the ending in an ordinary player before uploading.
Know when to stop
Keep some natural room tone rather than forcing silence around every word. Return to the source when the voice becomes metallic, breaths vanish, or ambience pumps. Use local repair for a few clicks or bumps. Re-record when a critical line is clipped or covered and the scene can be recreated.
Limitations and safer alternatives
- Cleanup cannot rebuild a consonant that was never captured clearly.
- Severe wind or clipping may leave no usable speech detail to recover.
- A single pass may affect music, ambience, and another speaker.
- Extracting and replacing audio can introduce offset or drift.
- Platform transcoding can expose artifacts that were subtle in headphones.
- Automatic cleanup is not a substitute for mixing dialogue, music, and effects.
Use local repair for isolated events, an editor's dialogue tools for section-by-section control, and re-recording when a line is short and repeatable. If the scene cannot be recreated, preserve the original under the replacement so you can blend back natural ambience or undo the decision.
Decisions for common talking-head formats
For a single uninterrupted lesson, test one representative section before the full recording. For a short social clip, review on a phone and watch every cut. For a product demo, protect system sound and click timing. For an interview, review both voices separately. For a camera clip with an external recorder, align the cleanest source before cleanup so you do not process the weaker scratch track.
Troubleshooting
The room is quieter, but the voice sounds distant
Return to the original and reduce the strength of processing. Do not stack another enhancer automatically. A closer microphone or alternate take will usually beat aggressive repair.
The replacement matches at the start but not the end
Compare full durations and check for time stretching, frame-rate changes, or a different export range. Follow the three-point sync workflow before moving individual clips.
Music pumps around each sentence
Clean isolated dialogue when practical, or use more conservative processing with the complete mix. Do not treat the music bed as background noise.
Frequently asked questions
Can I upload the video directly?
Only if the current product build has been tested with that exact input and returns a usable video output. This draft does not assume that behavior.
How do I check lip sync?
Compare visible consonants and hard cuts near the beginning, middle, and end, and confirm the processed track duration matches the source.
Should I remove all room tone?
No. A perfectly silent background can make edits and pauses sound unnatural. Aim for less distraction while preserving continuity.
Should I clean before adding captions?
Lock the approved dialogue first when caption timing depends on it, then review captions after the final replacement and render. Avoid shifting media after captions have been finalized.
Can I use the same settings for every shot?
Only when recording conditions are consistent. Camera distance, microphone, room, and background sound can change between shots, so test representative scenes.
Related guides
- Clean audio in an MP4 file
- Keep video and audio in sync
- Reduce wind noise in video
- Clean YouTube interview audio
- Remove background noise in CapCut
Sources and test notes
- Apple QuickTime file-layout documentation explains how media streams can be organized and interleaved inside a timed container.
- Shure SM57 placement guidance documents principles such as aiming toward the source, away from unwanted sound, and using a windscreen outdoors.
These sources support container and capture context. They do not prove a sample-specific cleanup result or a particular Noise Cleaner video path.
Choose the next action
Preserve the picture edit, test the smallest representative scene, and keep the result only when dialogue, room continuity, and sync all pass. Use Noise Cleaner on a copy when the saved-file path fits the actual media; use local repair for isolated events; and re-record when the source has lost an essential word. The best talking-head cleanup is the version viewers stop noticing.