How to Remove Background Noise From a Recording: A Tested AI Workflow
Learn how to remove background noise from a recording with a tested AI workflow, a real Before/After example, practical steps, and clear limits.

Quick Answer
To remove background noise from a recording, keep the original file untouched, process a copy, and compare the same spoken section before and after cleanup. With Noise Cleaner, you can upload a saved audio or video file, create a cleaned preview, compare it with the original, and download the result you want to keep. This works best when speech is still understandable and unwanted sound—such as fan, room, microphone, or outdoor noise—is the main problem. It cannot reliably reconstruct words already lost to clipping, severe distortion, overlapping voices, or extremely loud noise.
Practical rule: A quieter background is useful only when the voice remains natural and every important word is still clear.
Have a noisy recording ready? Upload it to Noise Cleaner and compare the cleaned preview with your original.
Why Background Noise Makes Recordings Hard to Use
Background noise does more than make a file sound less polished. It competes with the voice for attention, makes quiet words harder to follow, and can become more obvious after compression, volume adjustment, or export.
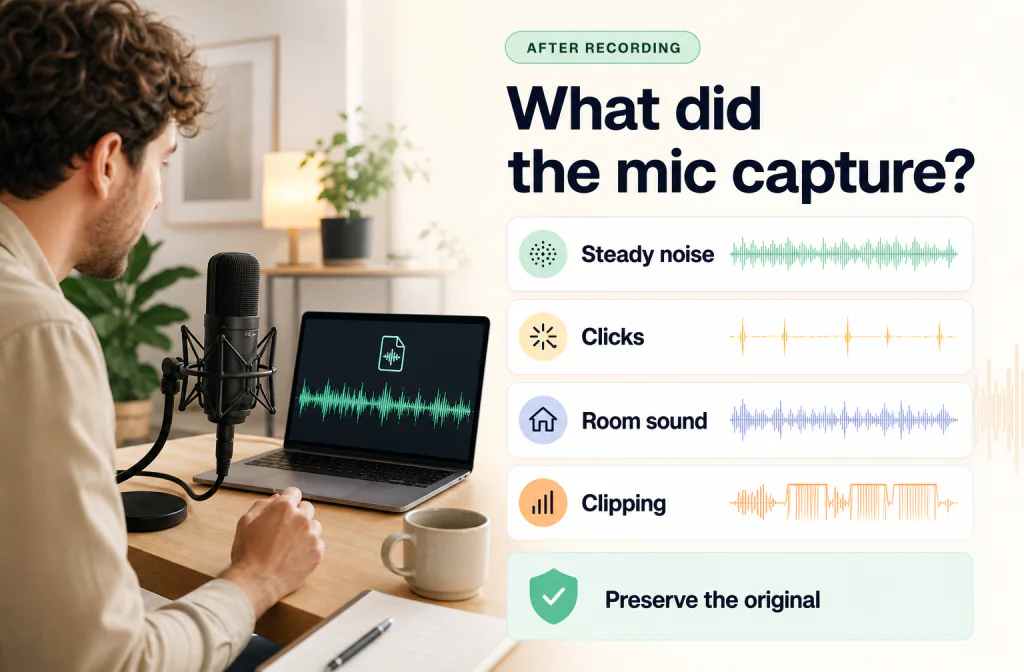
The phrase “background noise” also covers several different problems. Identifying what you hear helps you choose the right cleanup method.
| What you hear | Common cause | Why it matters |
|---|---|---|
| A constant fan, air conditioner, or room tone | Ventilation, computer fans, or an untreated room | Steady noise can sit underneath every word |
| A high hiss or low hum | Microphone gain, cables, power, or recording equipment | The noise may remain present from beginning to end |
| Keyboard clicks, traffic, doors, or handling sounds | Intermittent events near the microphone | A click that overlaps a word is harder to remove cleanly |
| A hollow or distant voice | Room reflections or microphone placement | This is partly an echo or reverb problem, not only background noise |
| Crackling or flattened loud words | Clipping or distortion | The wanted voice signal is already damaged |
| Another person speaking over the main voice | Overlapping speech | General noise reduction is not the same as speaker separation |
If the main sound is a desk fan, laptop fan, or ventilation wash, use the fan-noise diagnosis and cleanup guide to separate steady wash from motor whine, direct airflow, and electrical hum before processing.
Before processing, listen to three parts of the recording:
- A quiet pause, where the background is easy to hear.
- A normal sentence with noise underneath the voice.
- The most difficult moment, such as a loud passing vehicle or a clipped word.
A silent gap can reveal the noise floor, but it cannot tell you whether cleanup will preserve speech when the voice and noise occur at the same time.
The Best Ways to Remove Background Noise From a Recording
There is no single best method for every file. The right choice depends on whether the recording can be repeated, how local the problem is, and how much control you need.
Re-record or replace the damaged section
If the take is short and repeatable, recording it again is often the cleanest solution. You avoid spending time repairing missing words or heavy distortion. In a longer project, you may be able to replace only one damaged sentence from another take.
Edit the problem manually
Manual editing is useful when the issue affects a few specific moments. An editor can cut a click between words, reduce an isolated impact, add short fades, or repair a section without processing the entire recording.
This approach gives more control, but it takes time and usually requires an audio editor. It is also safer for an irreplaceable file where every change needs to be reviewed closely.
Use conventional noise reduction
Traditional noise-reduction tools often work from a noise sample and adjustable settings. They can be effective for steady sound when the user is comfortable balancing reduction against speech damage.
The main risk is overprocessing. Strong settings may create metallic, watery, chirping, or gated speech even when the background becomes quieter.
Use an AI cleanup workflow
An AI audio cleaner is useful when you have a saved recording and want a simpler upload, preview, compare, and download process. It reduces manual setup, but it does not remove the need to listen carefully.
Use AI cleanup when the voice is still understandable and the background is the main distraction. Choose manual repair or re-recording when the source is clipped, badly distorted, or missing important speech information.
When the file is mainly spoken voice, follow the review-first voice-recording workflow to compare the same words and decide whether to keep, repair, or re-record. When the source came directly from a desk, podcast, or interview microphone, use the post-capture microphone recording workflow for a mic-specific diagnosis.
Why Creators Use AI Audio Cleanup
Creators rarely need noise reduction as an isolated technical task. They need to move a recording toward its next step: editing a podcast, publishing a video, uploading a lesson, sharing a meeting, or delivering a voiceover.
An AI workflow can help because it creates a clear decision point without requiring the user to build a detailed effect chain first. Upload the file, hear a processed preview, and decide whether the result is suitable for the project.
This is especially useful when:
- The recording is already finished. A creator can work from the saved file without repeating the recording session immediately.
- The project contains many spoken sections. A representative preview helps determine whether cleanup is worth applying to the complete file.
- Audio expertise is limited. The user can focus on intelligibility and naturalness instead of choosing several technical settings.
- Video is part of the workflow. The creator can review both sound quality and picture-to-sound alignment before publishing.
- The source must be protected. Keeping the original and downloading a separate cleaned file makes it easier to reject a result that is not suitable.
AI cleanup is not a substitute for good recording technique. It is a practical review step between a noisy source and the creator’s editing or publishing workflow.
How Noise Cleaner Removes Background Noise
Noise Cleaner follows a preview-first workflow. You upload a saved recording, the file is validated and processed, and then you compare the original with the cleaned preview before deciding what to download.
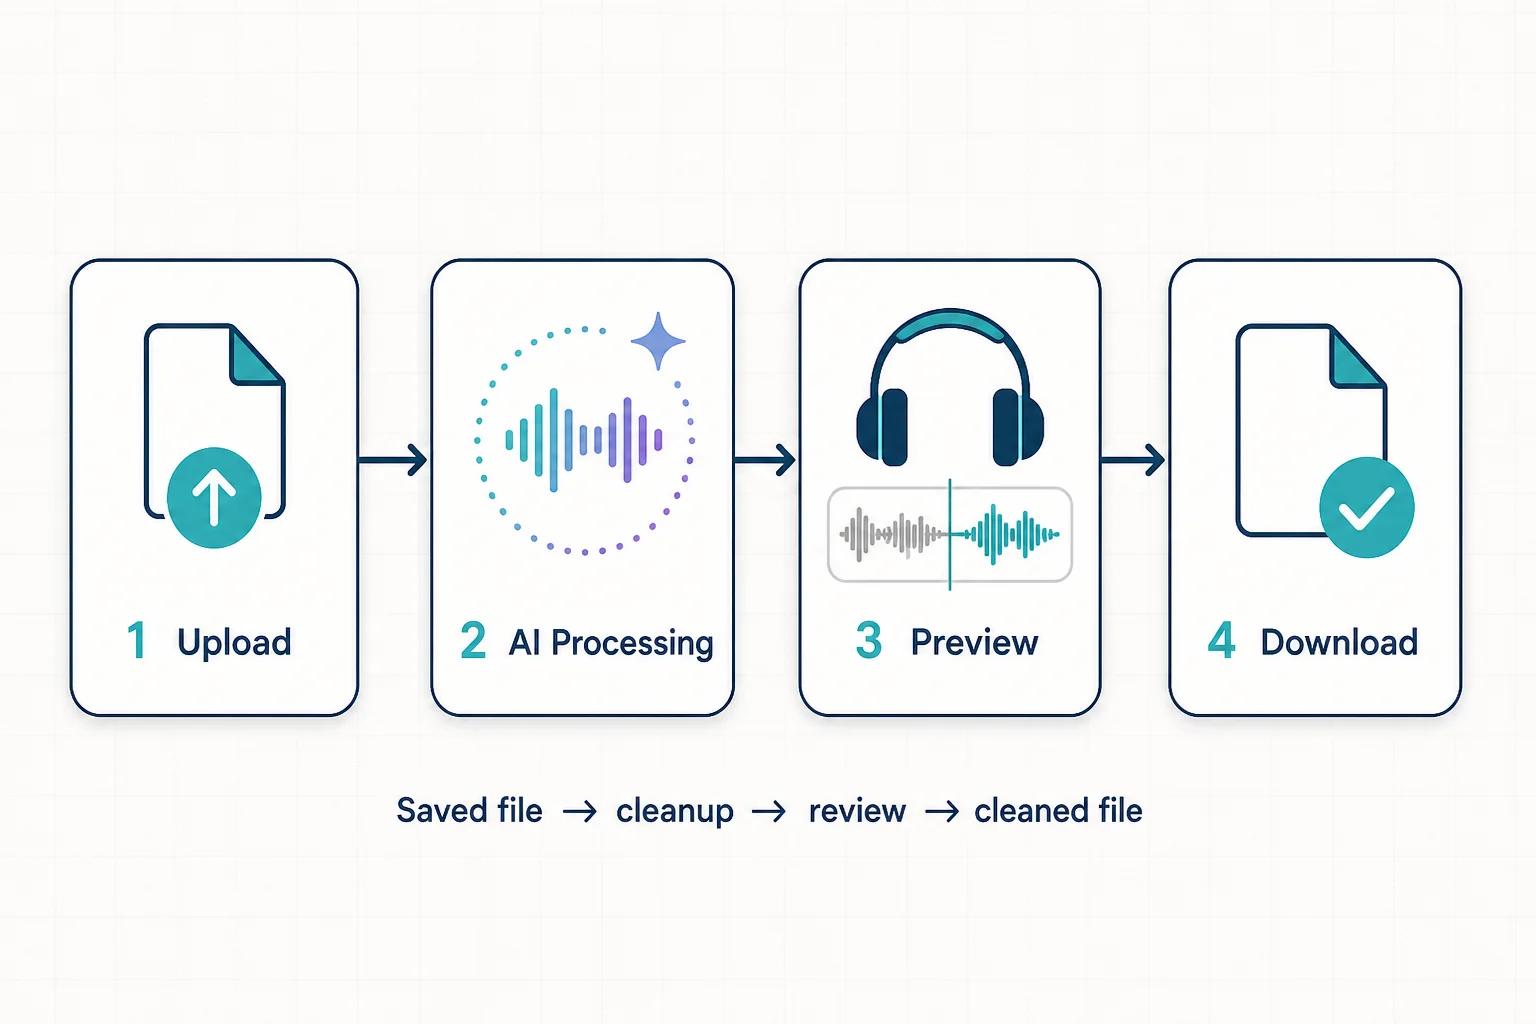
The workflow is built around five decisions:
- Upload: Choose the original-quality working copy of your recording.
- Process: Let Noise Cleaner create a cleaned version of the file.
- Preview: Compare the original and processed versions on the same passage.
- Review: Check both noise reduction and voice quality.
- Download: Keep the cleaned result only when it is more useful than the source.
This is a saved-file workflow, not live noise suppression for an active call. For video, the visual track and cleaned audio also need to remain aligned, so review sync before publishing the final export.
Try the workflow on your own recording
Upload an audio or video file to Noise Cleaner, wait for the cleaned preview, and compare it with the original before choosing whether to export the full file.
Step-by-Step: Remove Background Noise From a Recording
1. Prepare the recording
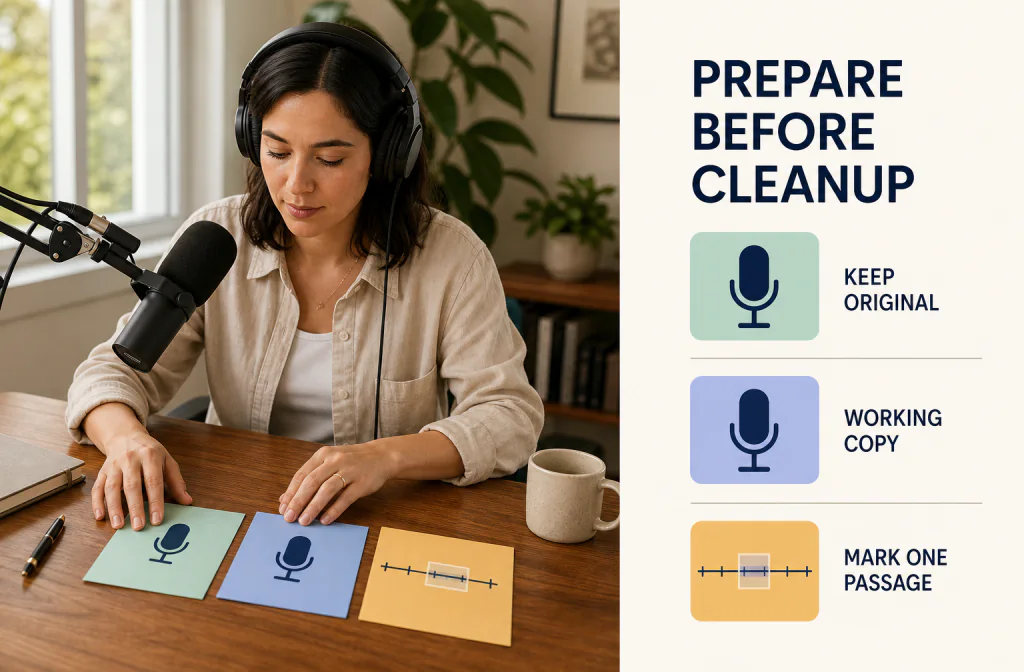
Duplicate the source file and give the working copy a clear name. Do not overwrite the original. If cleanup removes speech detail or creates artifacts, you need a clean way back to the source.
Choose a short evaluation passage before processing. A useful passage contains complete words, a natural pause, and the noise you want to reduce. Write down its start and end time so you can compare exactly the same moment later.
For a repeatable source-file and listening setup, prepare the source before cleanup. The checklist helps you preserve the original, name the working copy, and choose one fixed comparison passage.
Avoid converting the file just to make it look more professional. Every conversion adds another variable. Start with a file accepted by the current upload experience and preserve the best source you have.
2. Upload the file
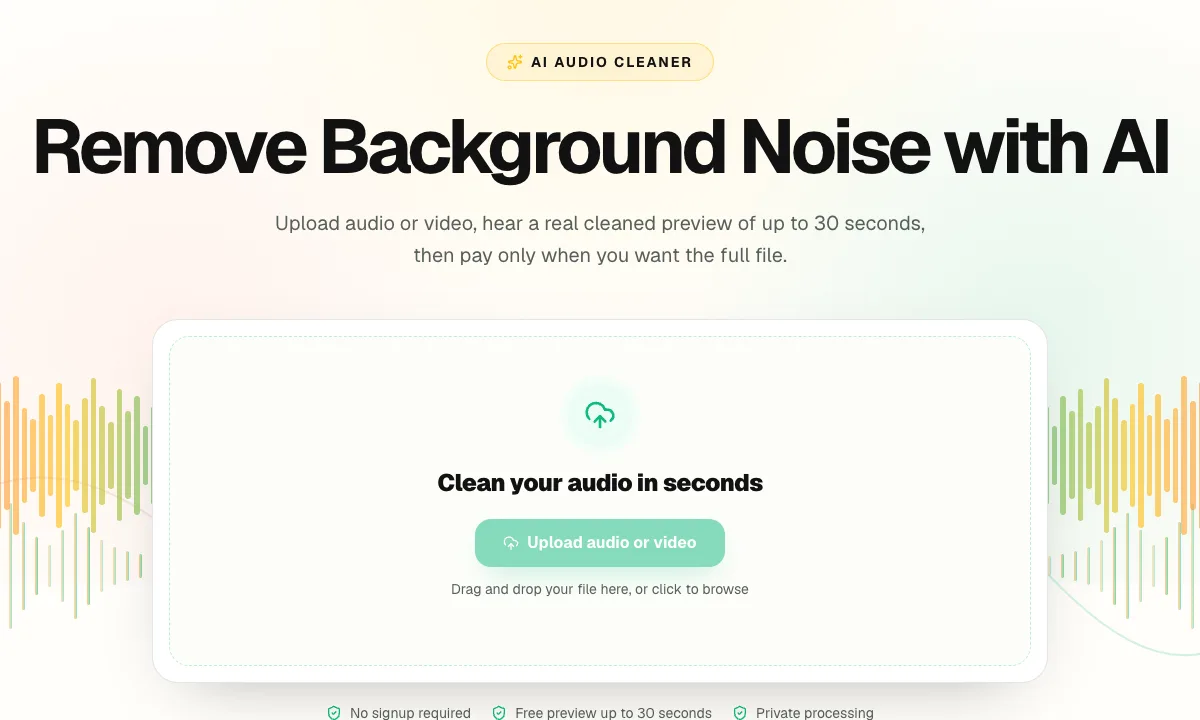
Open Noise Cleaner and select your working copy. Audio and video recordings can contain more than one stream or track, so confirm that you chose the version with the dialogue you actually want to clean.
If the upload is rejected, check the current format and file-limit guidance. Repeated trial conversions can reduce quality and make troubleshooting harder.
3. Process the cleanup
Start the cleanup and wait for the real preview to finish. Use one processed version for the first comparison. Repeatedly processing an already cleaned export can compound artifacts and make it difficult to identify where speech damage began.
Keep the goal narrow: make the unwanted sound less distracting while preserving the voice. Do not judge success by background silence alone.

4. Preview and compare the same passage
Return to the exact passage you marked earlier. Keep the playback device and volume as consistent as practical. If one version is much louder, adjust playback before deciding which sounds clearer; louder audio can seem better even when the underlying problem has not improved.
Use the five-pass Before-and-After review checklist when you want a repeatable way to check word clarity, residual noise, voice naturalness, ambience changes, and the final download.
Ask two separate questions:
- Is the unwanted sound less distracting?
- Is the voice at least as understandable and natural as before?
Listen to word beginnings and endings, soft consonants, breaths, and the room tone between phrases. Headphones can expose metallic or watery artifacts, while laptop or phone speakers show whether the result remains understandable in everyday listening.
5. Download and verify the cleaned file
If the preview is useful, download the cleaned file and open it independently. Check the beginning, the difficult passage, and the end. For video, also inspect lip sync at the beginning, middle, and end.
Keep the source and cleaned versions under different names. If the result is worse, reject it and return to the original. That is a normal part of a careful cleanup workflow.
Tested Example: Cleaning a Storm Reporter Recording
Imagine starting with an outdoor report where the speaker is present but strong wind, rain, and roadside noise keep pulling attention away from the words. This is the kind of recording where a creator needs to hear the tradeoff, not simply read a promise about noise removal.
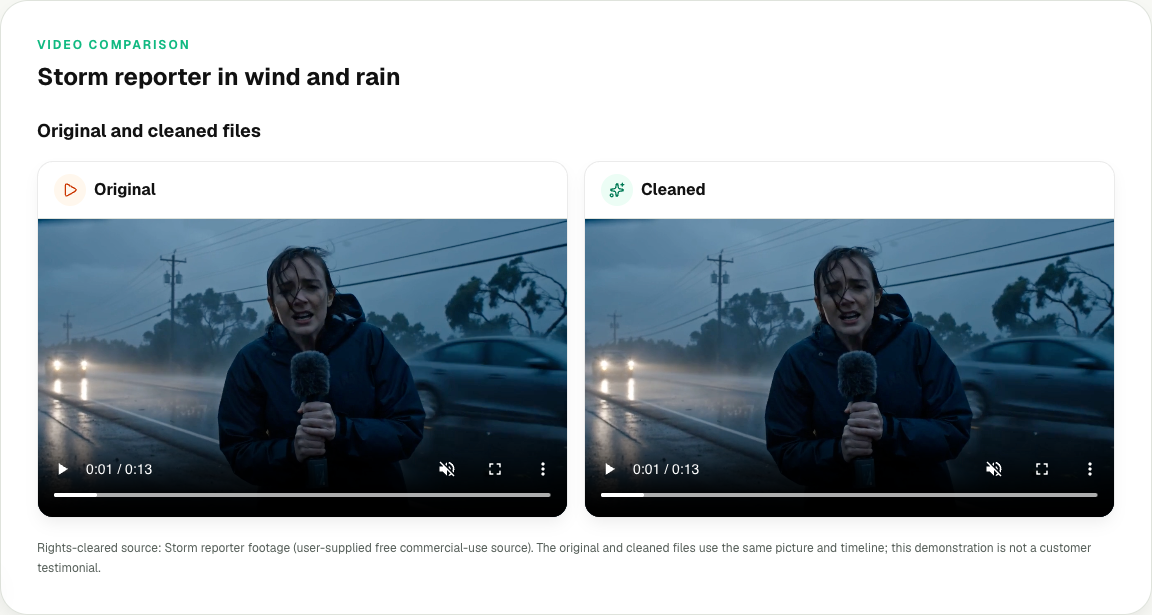
The example below uses a 13-second storm reporter clip supplied for this project as a free commercial-use source. The source and cleaned versions use the same speech, picture, and timeline, so you can switch between them without comparing different performances.
This is a controlled product demonstration built from rights-cleared media. It is not presented as a customer recording or testimonial.
You can also view the matching media in the Before and After showcase before testing the workflow on your own recording.
Start with the noisy recording
Play the original first. Listen during speech rather than only in the spaces between sentences. Wind and rain compete with the reporter across the clip, which makes this more demanding than a quiet fan heard only during pauses.
Switch to the cleaned version
Now play the cleaned file on the same device and at a similar listening level. Focus on whether the background becomes less distracting while the speaker remains easy to follow.
The same Before/After pair is available as video, allowing you to check the sound while watching the matching picture.
Original video
Cleaned video
Decide whether the result fits the project
The purpose of the comparison is not to suggest that every sound disappears. It shows the real product flow on a difficult source and lets you decide whether the cleaned version is more usable for spoken content.
Listen for three things:
- Is the background less distracting while the speaker is talking?
- Do consonants, word endings, and breaths still sound natural?
- Would you use the cleaned version in the final podcast, video, lesson, or voice track?
Heavy wind, rain, and road noise can overlap speech frequencies. Some competing sound may remain, and stronger cleanup can affect naturalness. Results will also differ with microphone distance, room acoustics, clipping, and the type of noise in your own file.
How to Decide Whether the Cleaned Recording Is Usable
Use a simple keep, retry, or reject decision.
| What you hear after cleanup | Recommended decision |
|---|---|
| Noise is less distracting and the voice remains natural | Keep the cleaned file after checking the full download |
| Noise is reduced, but a few words sound processed | Return to the original and try a more conservative or manual method |
| Some noise remains, but speech is intact | Decide whether the residual sound is acceptable for the project |
| Words, consonants, or breaths disappear | Reject the processed version |
| The source is clipped, severely distorted, or masks key words | Consider specialist repair or re-recording |
A waveform can confirm that you are comparing the same time range, but it cannot tell you whether a voice sounds natural. Listening remains the final check.
Troubleshooting a Disappointing Result
The voice sounds metallic, watery, or robotic
Return to the untouched source. Do not keep cleaning the damaged output. Compare where the artifact begins, then choose a different method or accept a small amount of natural background sound.
Noise remains under words
This is often the hardest part of the file because the wanted and unwanted sound occur together. Stronger processing may also remove speech detail. Judge whether the residual noise is less harmful than the artifacts a more aggressive pass could create.
The cleaned version only seems louder
Match playback levels as closely as practical and compare again. Loudness can influence preference, so it should not stand in for a noise-reduction result.
Important words are less clear
Reject the result. Intelligibility matters more than an unnaturally quiet background. Use manual repair, replace a phrase from another take, or re-record if possible.
The file will not upload
Check the current product guidance for supported inputs and limits. Avoid a chain of trial conversions that could reduce quality.
Audio and Video Recordings Need Different Final Checks
For an audio file, review the cleaned download on its own and inside the editing project where it will be used.
For a video recording, follow the dedicated workflow to remove background noise from video, then compare the original and cleaned video and check picture-to-sound alignment at the beginning, middle, and end. If a direct video workflow is not suitable for a particular file, export the dialogue audio from the video editor, clean that file, and reinsert it at the original start time before checking sync again.
This remains an offline, saved-file workflow. It does not remove noise during a live call, stream, or recording session.
What AI Noise Reduction Can and Cannot Fix
AI noise reduction can be a practical option when speech remains intact and the unwanted sound is separable enough to reduce. Typical candidates include steady room tone, fan noise, light equipment noise, and some outdoor background sound.
It has important limits:
- Heavy distortion: Cleanup cannot reliably reconstruct speech information already damaged in the source.
- Clipping: Flattened peaks are part of the wanted signal, not simply a background layer.
- Overlapping voices: General noise reduction is not the same as isolating one speaker from another.
- Extreme noise: When noise masks consonants or complete words, stronger processing may also damage speech.
- Strong echo or reverb: Room reflections are a different problem from ordinary background noise.
- Music mixed with speech: Do not assume that a general cleanup workflow can remove music while preserving every part of the voice.
Re-record when the take is short, repeatable, and badly damaged. Use manual repair when the file is irreplaceable or the problem affects only a few moments. Use AI cleanup when the voice is still understandable and background noise is the main distraction.
Best Use Cases
Podcasts
Use the podcast noise remover on a copy before final editing. If you have separate speaker tracks, preserve them and review each voice. Do not approve an entire episode based on one easy passage.
YouTube videos
Clean a representative talking section and check lip sync after processing. Review both headphones and ordinary phone or laptop speakers before exporting the final video.
Online courses
Test one lesson before applying the workflow across a course library. Pay particular attention to quiet explanations, screen-demo narration, and consistency between lessons.
Meeting recordings
Use cleanup after the call has been recorded. Review every participant, especially quiet speakers whose words may already be masked. This workflow is not a replacement for live-call noise suppression.
Voice recordings
For desk, room, or narration recordings, use the microphone noise remover on the saved file, then compare breaths, word endings, and room tone. A natural voice with a small amount of ambience can be more useful than a heavily processed take with missing speech detail.
Frequently Asked Questions
Can background noise be removed completely?
Not reliably in every recording. The outcome depends on the type and level of noise, how much it overlaps speech, and the condition of the source. Aim for less distracting noise with preserved speech rather than guaranteed silence.
Should I upload the original recording or a compressed copy?
Keep the original untouched and upload a working copy made from the best source available. Avoid unnecessary conversions, because each conversion can introduce another quality change.
Can AI cleanup repair clipping or severe distortion?
It should not be treated as a guaranteed repair for clipping or severe distortion. Those problems affect the wanted voice signal itself. Manual restoration, replacing a phrase, or re-recording may be safer.
Will noise reduction make a voice sound robotic?
It can if the processing changes speech along with the noise. Listen for metallic, watery, chirping, or gated sound. If words become less natural or harder to understand, return to the original.
Does Noise Cleaner remove noise during a live call?
No. This workflow is for saved audio or video files: upload, process, preview, compare, and download.
Can I remove background noise from a video recording?
Yes, when the current upload experience accepts the video. Compare the original and cleaned video, then check lip sync at the beginning, middle, and end before publishing.
How should I compare Before and After?
Use the same time window, include noise under speech, keep playback volume consistent, and listen for both noise reduction and voice damage. Do not judge only by a quiet gap.
What should I do if important words become less clear?
Reject the processed version and return to the untouched source. Try a manual repair, replace the damaged phrase from another take, or re-record when possible.
Sources
- Audacity Manual: Noise Reduction — explains why steady noise is generally easier to address than irregular or speech-overlapping noise and why strong reduction can create artifacts.
- ITU-R BS.1770-5 — defines methods for measuring programme loudness and true peak; measurements do not replace listening for naturalness or intelligibility.
Clean Your Recording With Noise Cleaner
Start with the best source you have, keep the original, and compare the same difficult passage before and after processing. Keep the cleaned version only when background noise is less distracting and the voice remains clear and natural.
Upload your audio or video to Noise Cleaner and hear the cleaned preview