How to Clean Audio in an Online Course Video
Clean online course video audio consistently by grouping lessons, testing one representative file, repairing local issues, and reviewing learner playback.
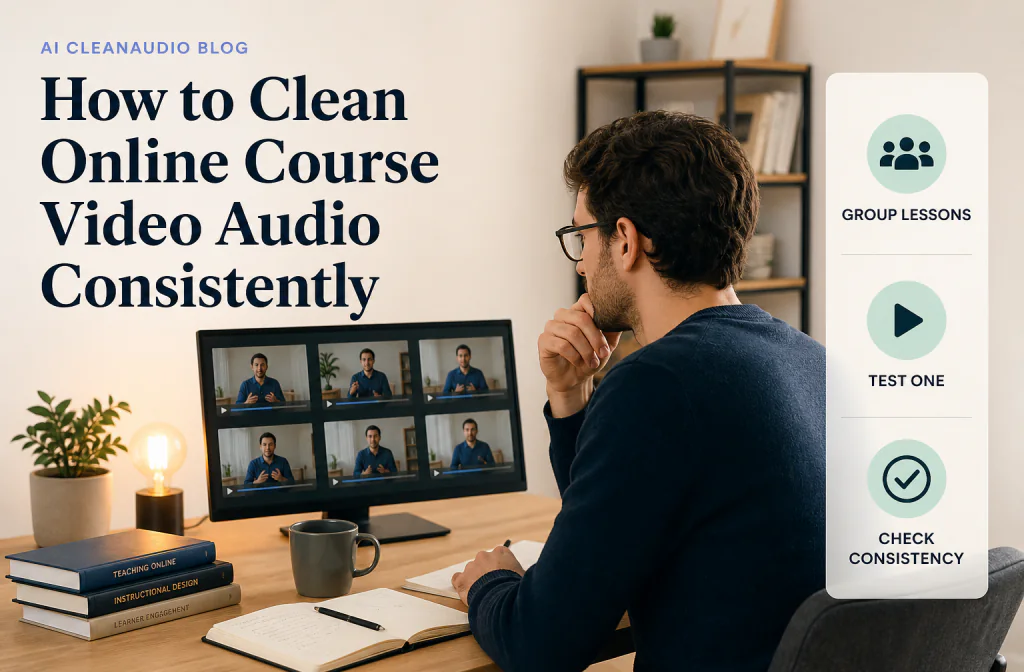
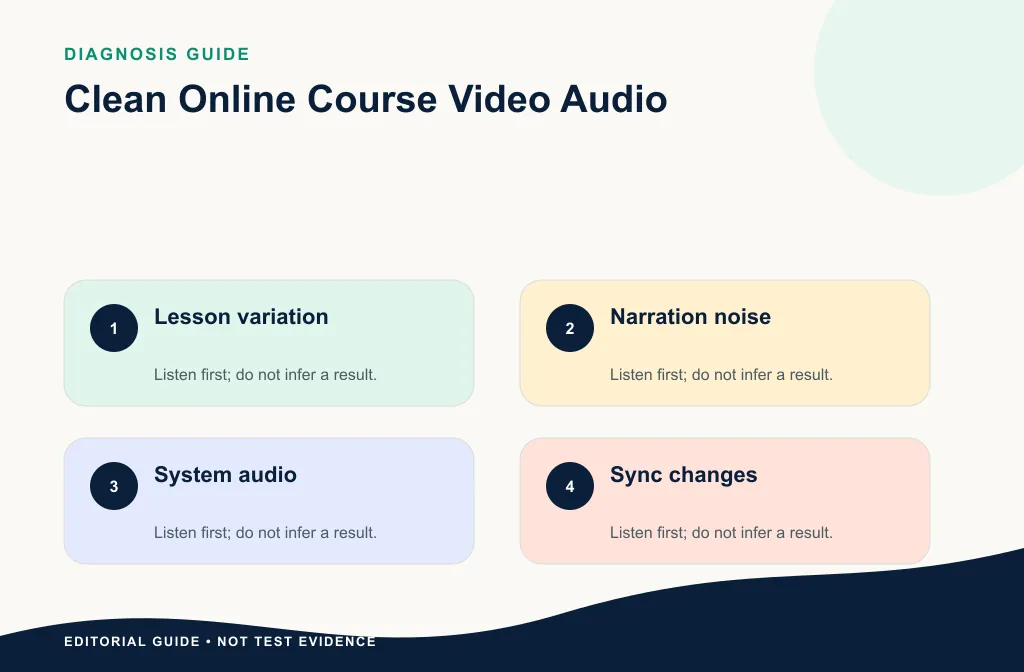
To clean audio in an online course video, preserve every lesson original, test one representative passage from each recording setup, and use a consistent review checklist rather than applying one process blindly to the entire course. Noise Cleaner can support saved-file cleanup, but the direct-video or exported-audio path must be verified and it is not a complete course mastering system. Keep a result only when narration remains natural, slide or cursor actions stay in sync, and the cleaned lesson does not sound noticeably different from the rest of the course.
Think in source groups, not file count. Ten lessons recorded with the same microphone, room, gain, and capture app may share a treatment; two lessons recorded on different days may not. Approve one representative file from each group before processing the rest.
Group lessons by recording setup
Courses often span multiple days, rooms, microphones, and screen-capture tools. Group files by the setup that produced them. A lesson recorded on a laptop microphone should not automatically receive the same treatment as a close USB microphone or a camera-mounted mic.
For screen-led lessons, use the screen-recording cleanup guide. For webinar-derived modules, use the webinar workflow.
Build a simple lesson inventory
Record lesson name, source app, microphone, room, date or session, format, duration, and main problem. Add whether narration, system audio, music, or learner demonstrations share the same track. This lets you group genuinely similar files and protect wanted sound.
If one lesson uses a laptop mic and the next uses a close USB mic, keep them in different groups. If a webinar-derived module contains several remote speakers, treat it as a webinar source rather than ordinary narration.
Define consistency from the learner’s perspective
Learners need words to stay clear as they move between lessons. Review narration tone, residual noise, loudness presentation, pauses, and sync. Saved-file cleanup is not automatic loudness mastering; any numeric delivery target requires a real measurement method and platform guidance.
Choose one 15–30 second passage from each recording group. Include quiet speech, normal speech, and the main noise. Record the transcript and timeline.
Use one previously approved lesson as a reference. The goal is comfortable continuity, not identical acoustics. Compare whether voices are similarly easy to understand and whether a learner must change volume dramatically. Keep natural differences between speakers and rooms when forcing a match would create artifacts.
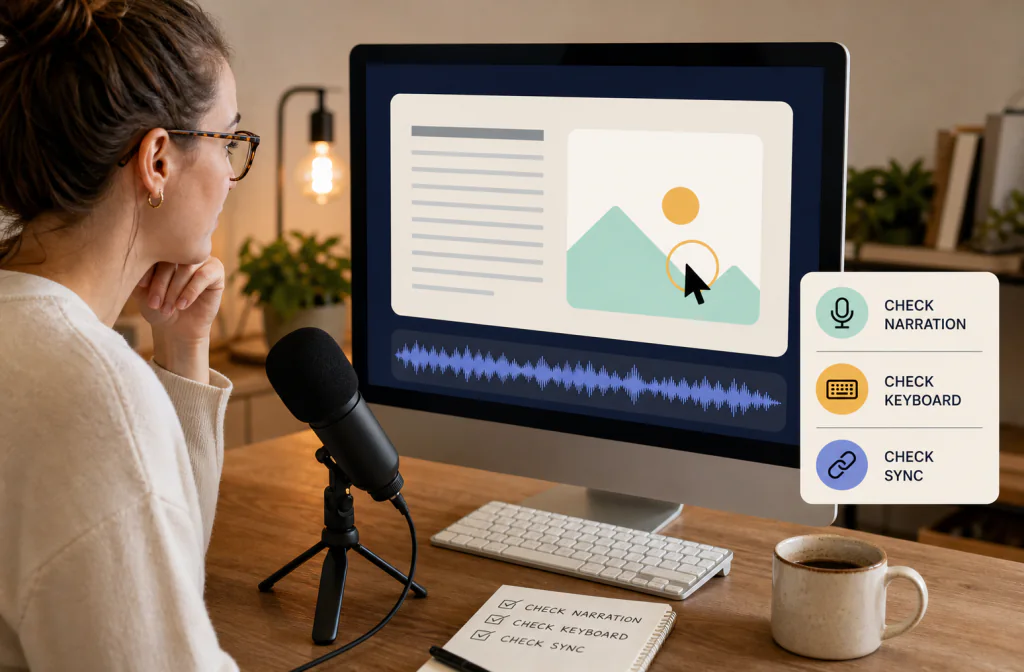
Add a visible sync point, a key term, and a moment with system sound or music when those elements exist. Check captions after the approved audio is locked.
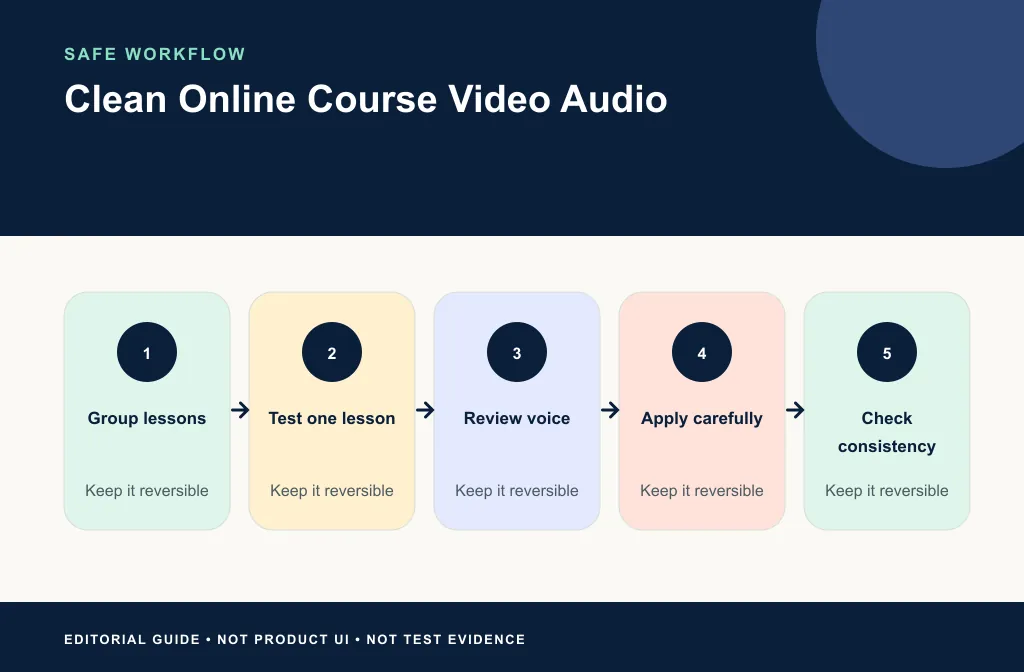
Test one lesson before the batch
- Preserve the original project and video.
- Choose the representative passage.
- Verify the current direct-video or exported-audio path.
- Upload the authorized copy through Noise Cleaner.
- Compare the same words and lesson actions.
- Download and verify format, duration, and sync.
- Compare the approved lesson with adjacent course lessons.
- Apply the process to similar files only after the first result is accepted.
Approve the first lesson in each group
Compare the same words at a similar level. Check quiet consonants, room continuity, slide or cursor alignment, and wanted system audio. Download and play the actual output outside the editor. If the lesson passes, repeat the documented process on the rest of that source group—but spot-check every output.
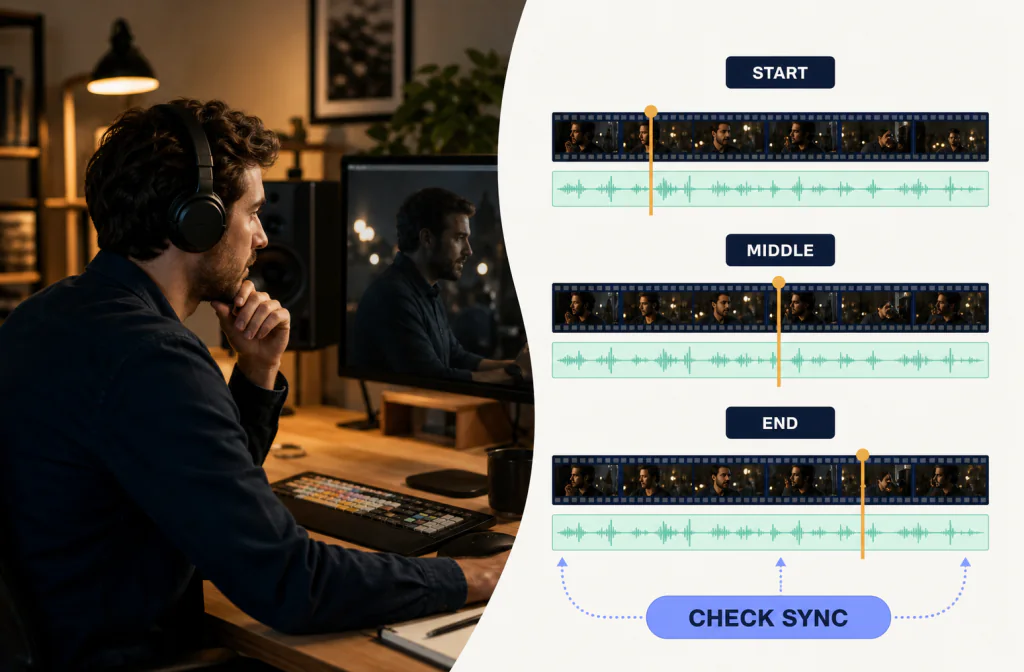
Do not assume batch consistency. A fan may start halfway through one file, a microphone can move, or a guest clip can appear. Check the beginning, middle, and end of every processed lesson and inspect any marked exception.
Fix local problems locally
Use local repair for one keyboard hit, mouth click, or notification. Re-record a short slide narration when a key term is clipped or masked. Avoid broad processing that changes an entire lesson to solve one event.
Fan noise during narration may need the fan-noise workflow. If replacing a track, follow the video/audio sync guide.
Use local repair for isolated keyboard impacts, notification sounds, mouth clicks, or edit-boundary pops. If one sentence is clipped or covered, record a pickup with similar pace and microphone placement. A whole-lesson process should solve a whole-lesson problem.
Review the final lesson package
Play the exported lesson outside the editor. Check beginning, middle, and end sync, captions, embedded quizzes or chapter points, and transitions to the next lesson. Test on a laptop and phone. DaVinci users can follow the Resolve cleanup guide for the native editor branch.
Create a course-level spot-check sequence: the last minute of one lesson followed by the first minute of the next. This reveals sudden changes in voice level, tone, room noise, or music that may be less obvious when files are reviewed alone.
Choose the method by course problem
| Problem | First choice | Why |
|---|---|---|
| Steady fan across one session | Test one lesson, then similar files | Source conditions are shared |
| One alert or click | Local repair | Global processing is excessive |
| Different microphone in later lessons | Create a new source group | One setting may not transfer |
| System sound mixed with narration | Protect wanted app audio | Dialogue cleanup may change it |
| Clipped key term | Pickup narration or alternate take | Missing speech cannot be restored |
| Lesson video drifts after handoff | Rebuild export/reimport timing | Quality and sync are separate |
Limitations and safer alternatives
- Different sessions and microphones respond differently.
- Automatic cleanup does not master course-wide loudness.
- Broad processing can alter system sound, music, and quiet consonants.
- Replacing audio can shift captions, chapter points, or cursor timing.
- One approved sample does not prove every long lesson is clean.
- Aggressive consistency can make natural voices sound processed.
Use the editor for level matching, music, transitions, and captions. Use local repair for isolated problems and re-recording for short critical lines. Keep some room tone if stronger cleanup would make the lesson brittle.
Troubleshooting
One lesson sounds much brighter than the others
Return to the source group and processing history. Reduce cleanup or enhancement on that lesson instead of processing the entire course again.
A cleaned lesson loses useful keyboard or app sound
Isolate narration when possible, or use a lighter pass. Wanted demonstration audio should not be treated as disposable noise.
Captions drift after audio replacement
Compare duration and start point, restore the correct alignment, then regenerate or retime captions from the approved media.
The LMS preview sounds worse than the local master
Compare the hosted transcode with the master and use a less aggressive source if compression exposes artifacts. Preserve the local approved export.
Frequently asked questions
Should every lesson sound identical?
No. Aim for clear, comfortable continuity without forcing different voices and rooms into an artificial match.
Can I process a whole course automatically?
Test and group sources first. Different recording setups can respond differently.
What if only one sentence is bad?
Local repair or re-recording is often safer than processing the full lesson.
Should I clean before adding quizzes and chapters?
Approve and lock the media first when those elements depend on timing. Recheck every timed interaction after the final render.
Can I reuse one cleanup setting for the next course?
Use the review checklist, not the setting. Test the new microphone, room, speaker, and capture chain before carrying a process forward.
Related guides
- Clean screen-recording audio
- Clean webinar recording audio
- Keep video and audio in sync
- Reduce fan noise in recorded speech
- Remove background noise in DaVinci Resolve
Sources and test notes
- Shure home-recording guidance recommends testing the recording environment and maintaining consistent source placement.
- Apple QuickTime media-layout documentation provides official context for timed audio and video media.
Use the official upload and encoding guidance for the actual learning platform. These sources support capture and timing principles but do not prove a course-specific cleanup result.
Final course decision
Group lessons by real source conditions, approve one representative file from each group, and spot-check every output. Use Noise Cleaner on authorized working copies when the saved-file route fits, then review narration, sync, captions, and transitions. Keep the result that gives learners consistent intelligibility without making every lesson sound artificially identical.