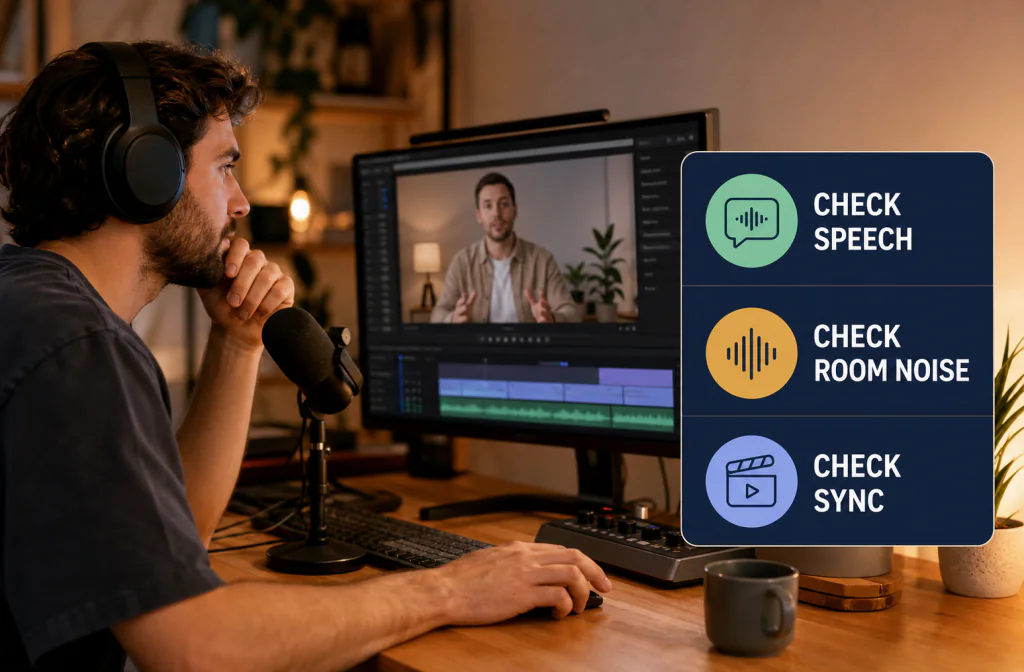
Remove Background Noise in Premiere Pro: Native Cleanup and a File Handoff
Remove background noise in Premiere Pro with a current native dialogue test, conservative review, and an export-clean-reimport fallback.
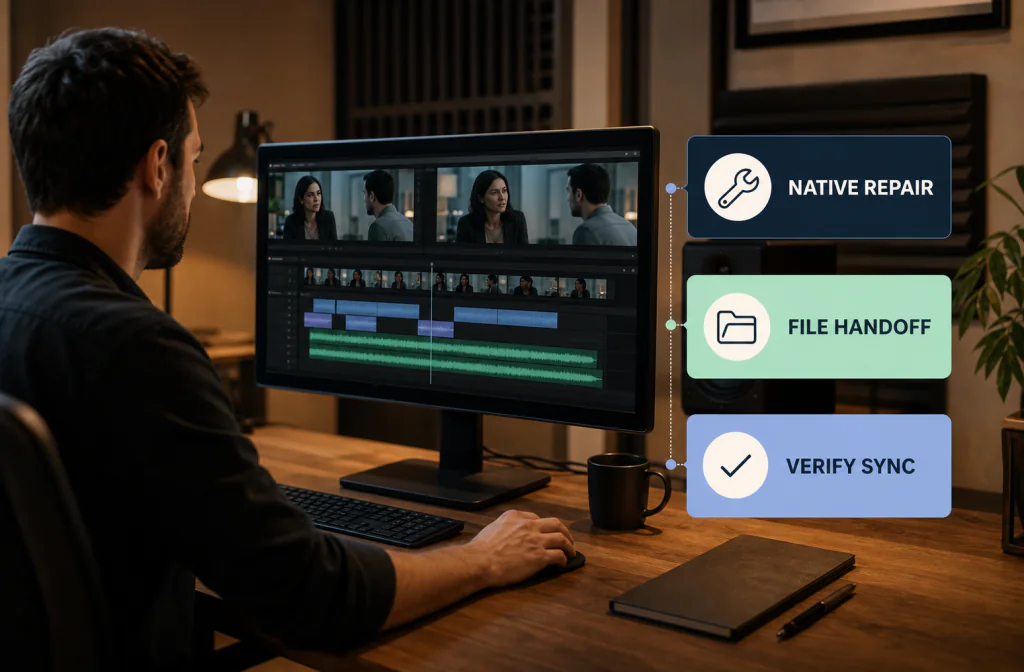
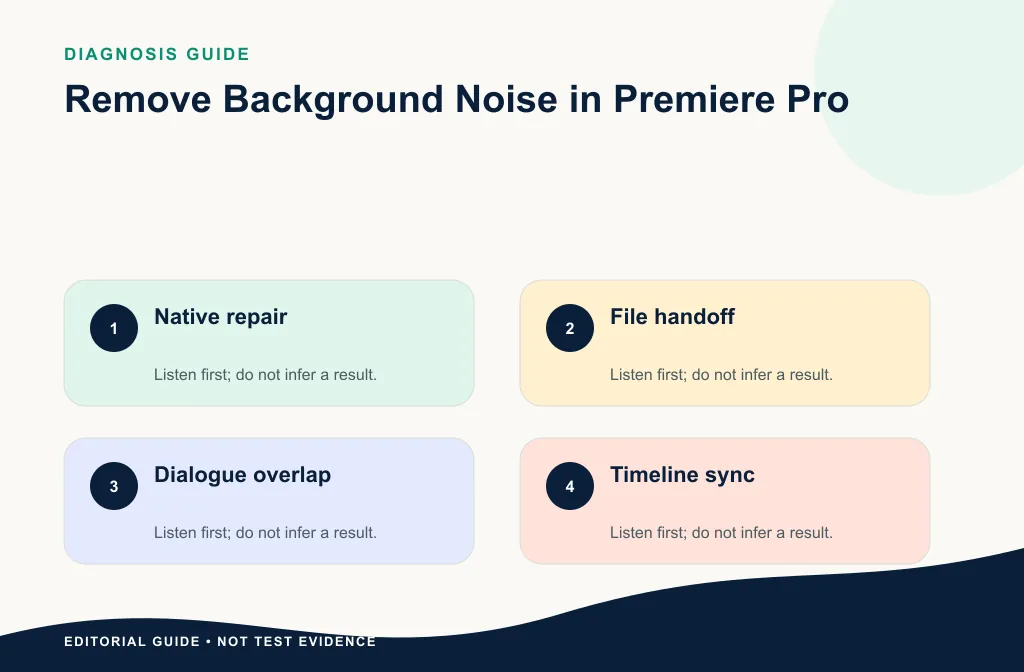
In a current Premiere Pro workflow, select the dialogue clip, classify or treat it as dialogue where required, open the Essential Sound repair controls, and begin with conservative noise reduction while comparing the same words with the effect bypassed. Adobe’s current documentation warns that the proper amount depends on the noise and acceptable quality loss. If native repair is not enough, preserve the project and test a separate saved-file handoff through Noise Cleaner. The fallback must be verified for file compatibility, duration, and sync; it cannot restore speech already lost to clipping or heavy overlap.
Start with Premiere because it owns the edit and timing. Use a handoff only after the native test fails your listening criteria. Whichever path you choose, retain the untreated clip and judge a rendered proof—not only the Essential Sound panel or timeline preview.
Record the tested Premiere context
Write down Premiere Pro version, operating system, sequence frame rate, source media, and whether the audio is linked to video. Capture the imported clip and enough of the interface to orient a reader. Do not describe a control that is absent from the current tested release.
Use the talking-head video guide for a single-speaker clip. Use the wind-noise video guide when air movement distorts speech.
Before repair, listen for steady noise, rumble, hum, sibilance, reverb, isolated clicks, and clipping. Adobe documents separate controls for several of these problems; do not turn on every checkbox by habit. Mark the one symptom you are trying to improve and capture the original settings so bypass remains meaningful.
Test native dialogue repair
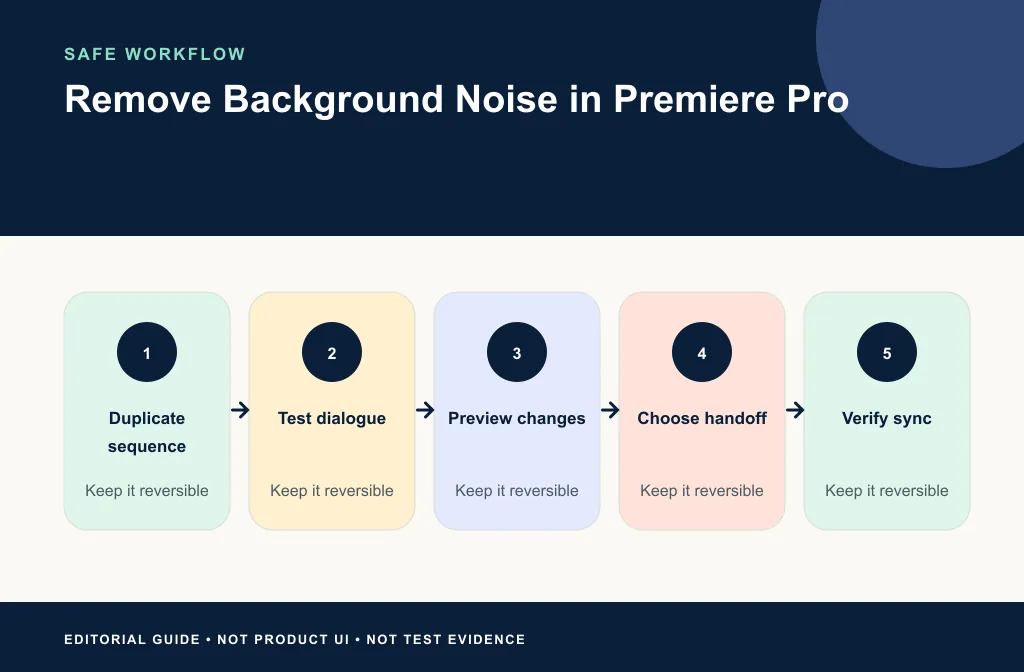
- Duplicate the sequence or clip.
- Mark a 15–30 second passage with dialogue and the real noise.
- Select the dialogue clip and open the current Essential Sound repair controls.
- Enable the relevant reduction at a conservative setting.
- Toggle bypass and compare the same words.
- Listen for metallic tone, missing consonants, or pumping ambience.
- Export a short proof using the real delivery settings.
Adobe documents Reduce Noise and other dialogue-repair controls, but the correct amount is source-dependent. Record the value used; do not present it as a universal setting.
Compare native repair in context
Loop one full sentence containing the noise under speech. Toggle the relevant repair control and listen at a similar level. Then play the preceding and following edits so room tone and music are included. A setting that works in isolation can create obvious jumps in a sequence.
Export a short proof with the same route you expect to use later. Play it outside Premiere and check lips, cuts, and quiet consonants. If a proxy or timeline preview lags but the render is correct, do not move the audio to compensate.
Decide whether to hand off the file
Use a separate cleanup test when steady noise remains under speech and the native result is not acceptable. Local repair inside Premiere or Audition may be better for isolated clicks. Re-record when critical words are clipped or covered and the scene can be recreated.
The metallic-voice recovery guide explains when to return to the original instead of stacking more processing.
| Source problem | Prefer native/local | Consider handoff | Prefer another take |
|---|---|---|---|
| Mild steady noise | Yes, test Reduce Noise | When native result is still distracting | Rarely |
| Tonal hum | Use the documented DeHum path | Only after native comparison | When source is unusable |
| A few clicks | Local clip or Audition repair | Usually unnecessary | If a short line is repeatable |
| Music under dialogue | Work in timeline context | Only with isolated dialogue | When the mix cannot be separated |
| Strong wind or clipping | Limited repair | Set low expectations | When words are masked |
Export, clean, and reimport safely
- Preserve the original clip and sequence.
- Export the exact dialogue range from a known timeline start.
- Record format, duration, sample rate, and channel layout.
- Verify the current Noise Cleaner build accepts the file.
- Process and compare the same dialogue passage.
- Download and verify the output duration.
- Reimport on a new track at the original start point.
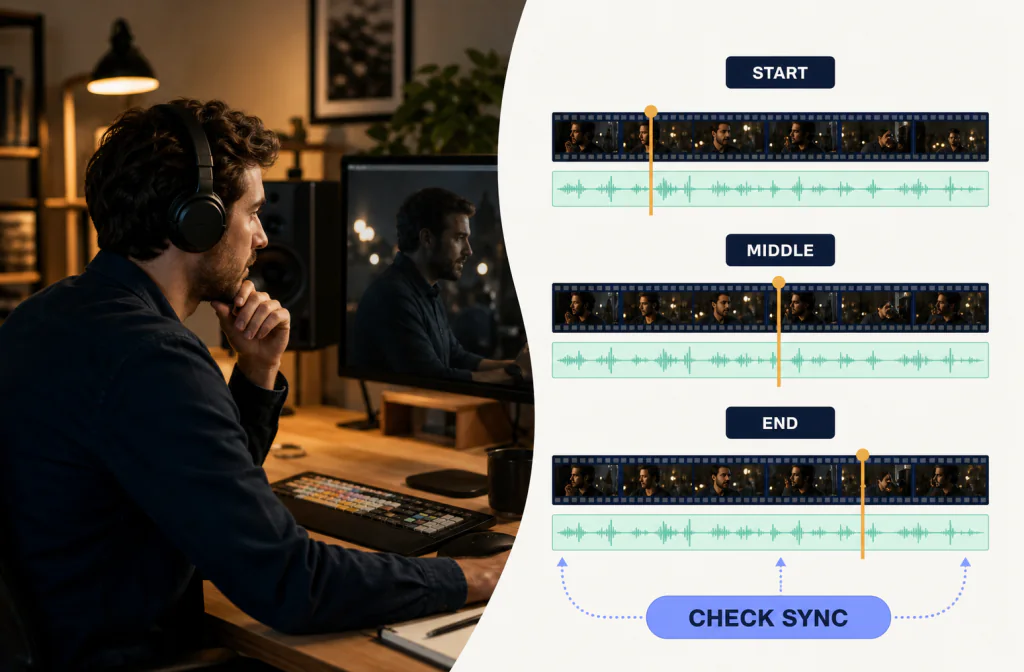
- Check sync near the beginning, middle, and end.
- Render and play a short proof outside Premiere.
Preserve the timeline relationship
Export from a known sequence start and keep leading silence when it anchors the file. Reimport on a new track, align it once, and leave the source muted below it. Check a visible consonant or hard action near the beginning, middle, and end. If duration differs, return to the export and cleanup route before stretching anything.
When the project has separate dialogue, music, and effects, hand off only the dialogue you intend to clean. Processing the complete mix can make wanted music pump around words.
For a YouTube interview, use the YouTube interview cleanup guide to review both speakers. For any replacement track, follow the video/audio sync workflow.
Effect order and rollback
Test repair before heavy compression or enhancement where practical, because later dynamics processing can raise residual noise and make artifacts harder to diagnose. Save sequence versions or duplicate clips so every experiment can return to the unprocessed source. Change one stage at a time and label exports clearly.
Limitations and failure boundaries
- Adobe's repair controls are source-dependent; there is no universal value.
- Strong reduction can remove wanted speech detail with the noise.
- A file handoff adds format, timing, and channel checks.
- Overlapping speakers, clipped words, and destructive wind cannot be guaranteed recoverable.
- Native preview quality does not prove the final export.
- Automatic cleanup does not replace dialogue editing, music balance, or delivery decisions.
Use local repair for isolated events, Audition or another detailed editor when precise restoration is needed, and re-recording when the line is short and the source is damaged.
Troubleshoot the result
| Result | Next action |
|---|---|
| Speech sounds metallic | Lower or bypass reduction; compare with the source |
| Noise remains only in pauses | Consider automation, expander, or local editing |
| Noise remains under speech | Test the saved-file path or accept a partial result |
| Sync drifts after reimport | Inspect export duration, sample rate, frame rate, and time stretch |
| A few clicks remain | Repair locally instead of processing the full clip again |
The export returns with different channels
Check the actual export preset and handoff output. Recreate the file with the intended layout rather than duplicating or discarding channels blindly.
Music pumps after dialogue repair
Separate dialogue from the mix or use a lighter native setting. Do not treat wanted music as if it were background noise.
The UI does not match this workflow
Confirm the Premiere release and consult Adobe's current repair documentation. Capture the control path from the version you actually use rather than forcing an older screenshot.
Frequently asked questions
Is there one best Reduce Noise value?
No. Test the actual source and use the lowest amount that meets the editorial need without damaging speech.
Should I unlink audio from video?
Only when your workflow requires it, and preserve timing. Keep the original linked clip or a duplicate sequence for rollback.
Can Noise Cleaner replace Premiere or Audition?
No. It is a saved-file cleanup option, not a complete video editor or DAW replacement.
Should I clean one clip or the whole track?
Test representative clips first. If noise and microphone conditions change, section-level treatment is safer than one setting across the sequence.
Should I render before checking sync?
Yes. Check the timeline, then render a short proof and play it outside Premiere so preview lag is not mistaken for file-level drift.
Related guides
- Clean talking-head video audio
- Reduce wind noise in video
- Keep video and audio in sync
- Clean YouTube interview audio
- Recover from metallic speech
Official sources and test notes
- Adobe Premiere: Repair dialogue documents current dialogue repair and quality-loss tradeoffs.
- Adobe Premiere: Improve dialogue clarity documents separate clarity controls and their purposes.
Adobe's pages establish the current documented native controls. They do not prove that one setting fits every recording or that a particular Noise Cleaner handoff succeeded.
Final decision
Keep the native Premiere result when the rendered clip has clearer natural dialogue and no new transition or sync problem. If native repair is not enough, preserve the sequence and test Noise Cleaner on a supported dialogue copy, then reimport from a known start and verify three sync points. Choose the least processed version that serves the edit.